How To Grow Turmeric In Containers A Practical Guide For Home Gardeners🌱

How To Grow Turmeric In Containers: A Practical Guide For Home Gardeners🌱

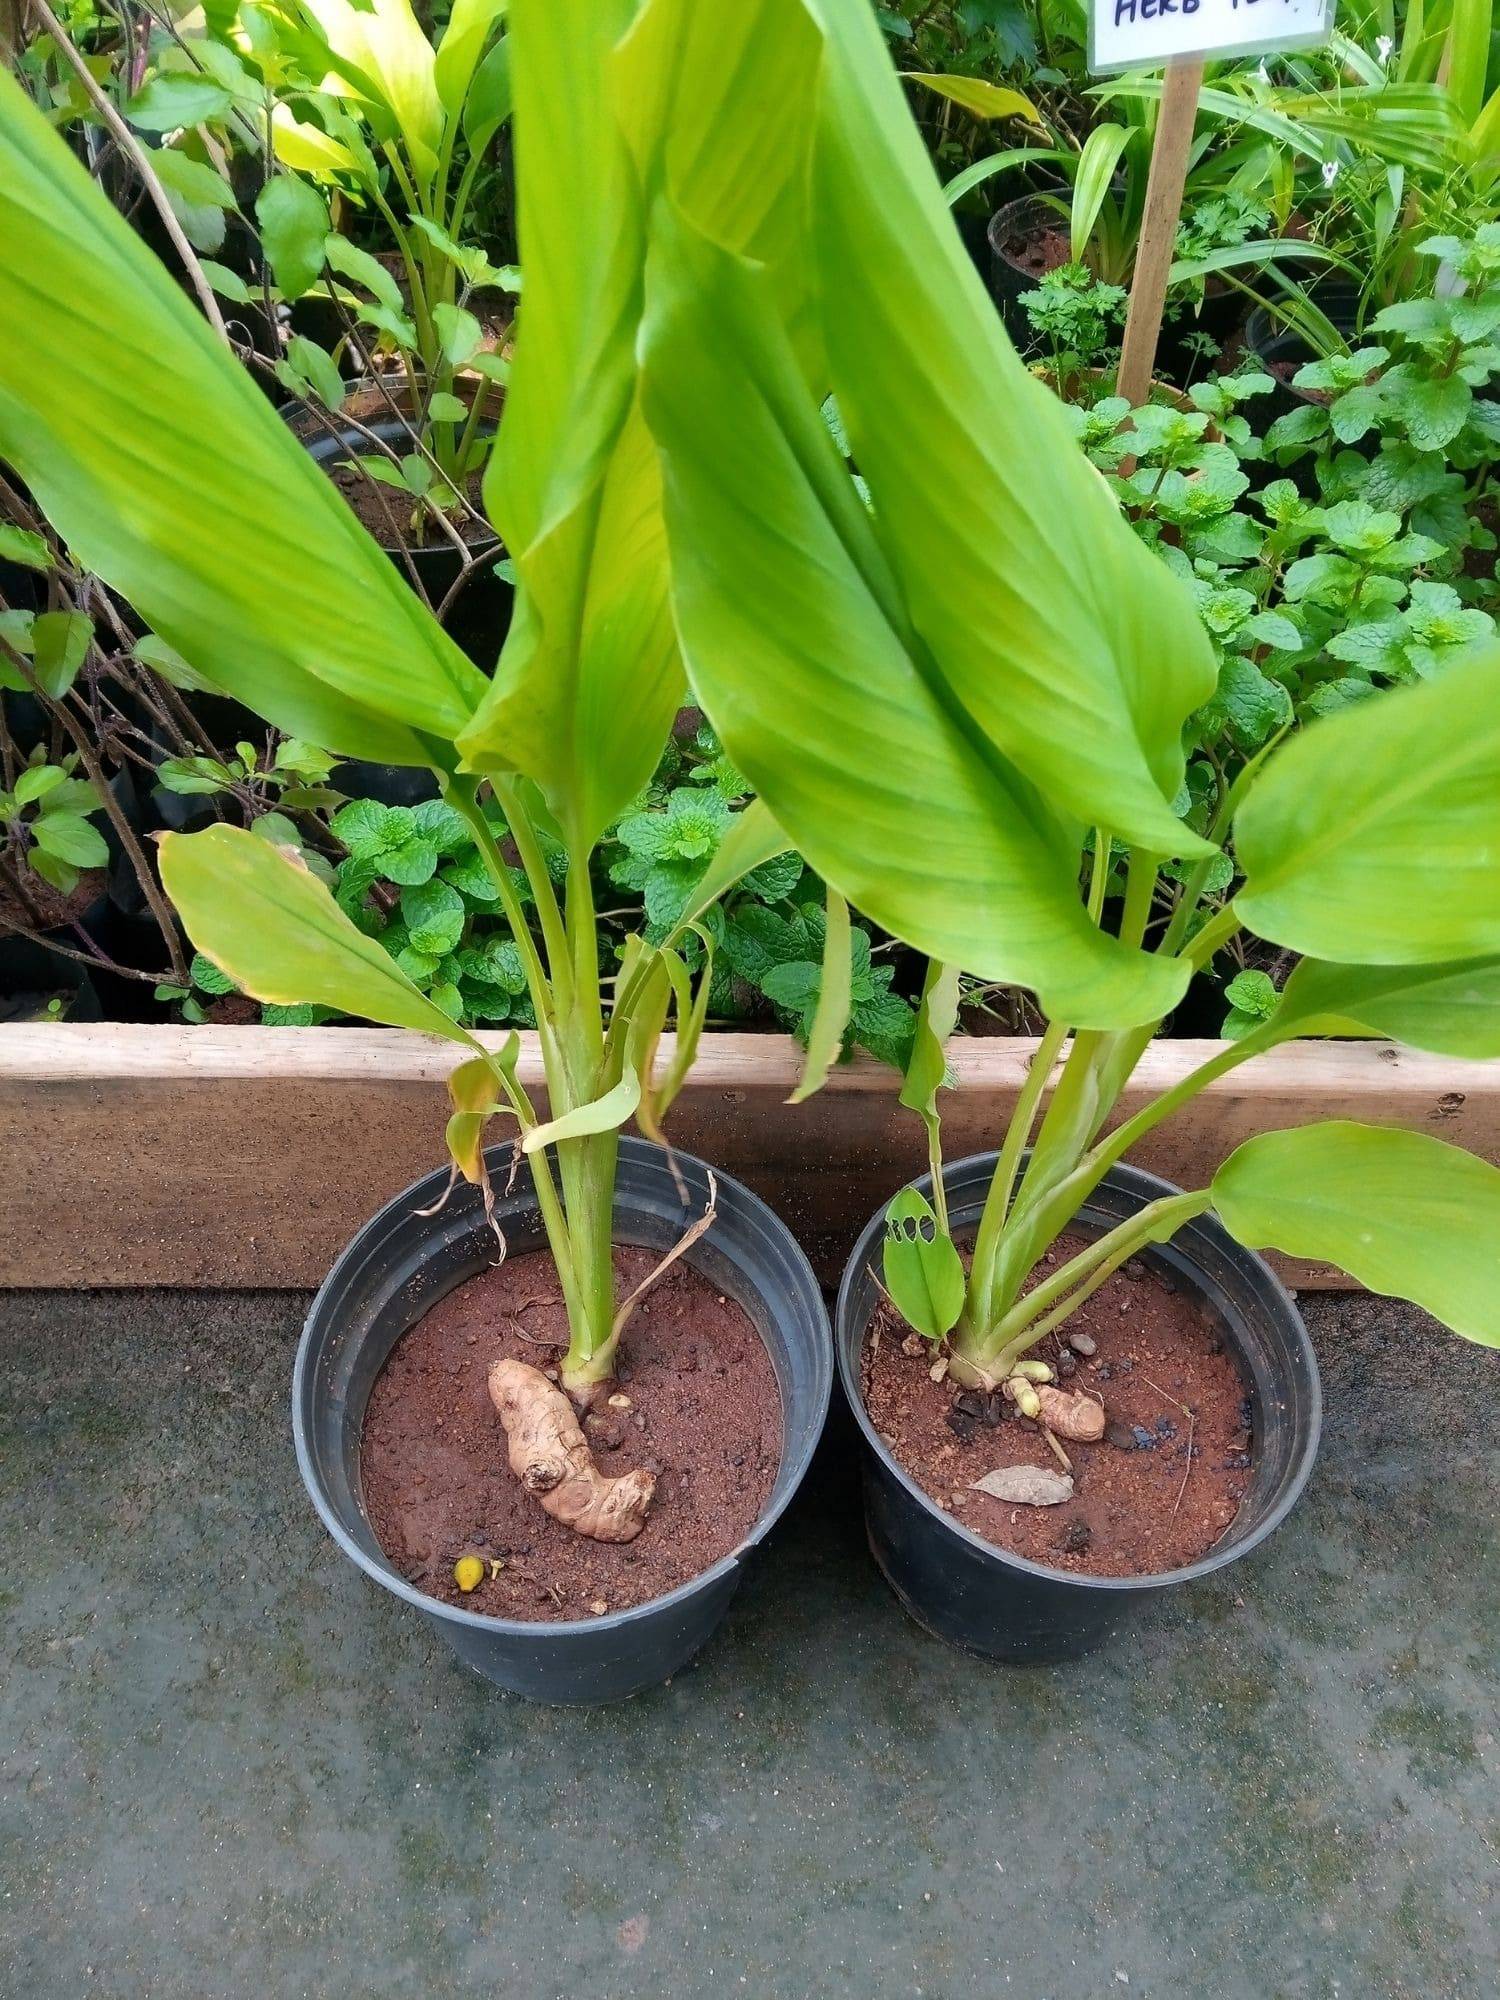
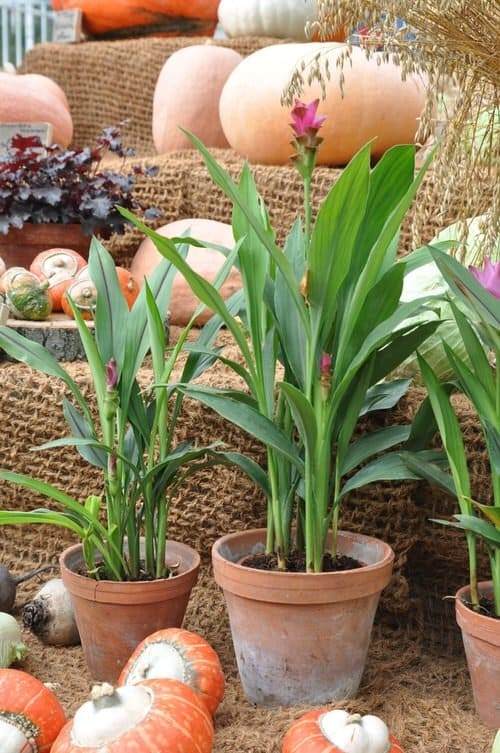
Turmeric, known for its wide range of culinary and medicinal uses, can thrive in a container garden, even if you don’t have a spacious backyard. The process of growing turmeric in containers is relatively simple, but it still brings the exotic flavors of this golden root straight to your home. Not only will you enjoy fresh, organic turmeric, but the lush foliage and striking flowers make it a visually pleasing addition to your garden.

From preparation and container selection to maintenance and harvest, this guide will lead you through the steps to successfully grow turmeric in containers.

Planting Turmeric In Containers

1. Choose A Sunny Location

Turmeric (Curcuma longa) is a tropical plant that requires a warm, humid environment to flourish. This means that if you live in a region with cold winters, growing it in a pot is an excellent option. Turmeric loves a suitable location with plenty of sunlight, whether it’s a sunny windowsill, a balcony, or a patio. Just ensure that your chosen spot receives at least 6 to 8 hours of indirect sunlight.
2. Choosing A Large Enough Pot

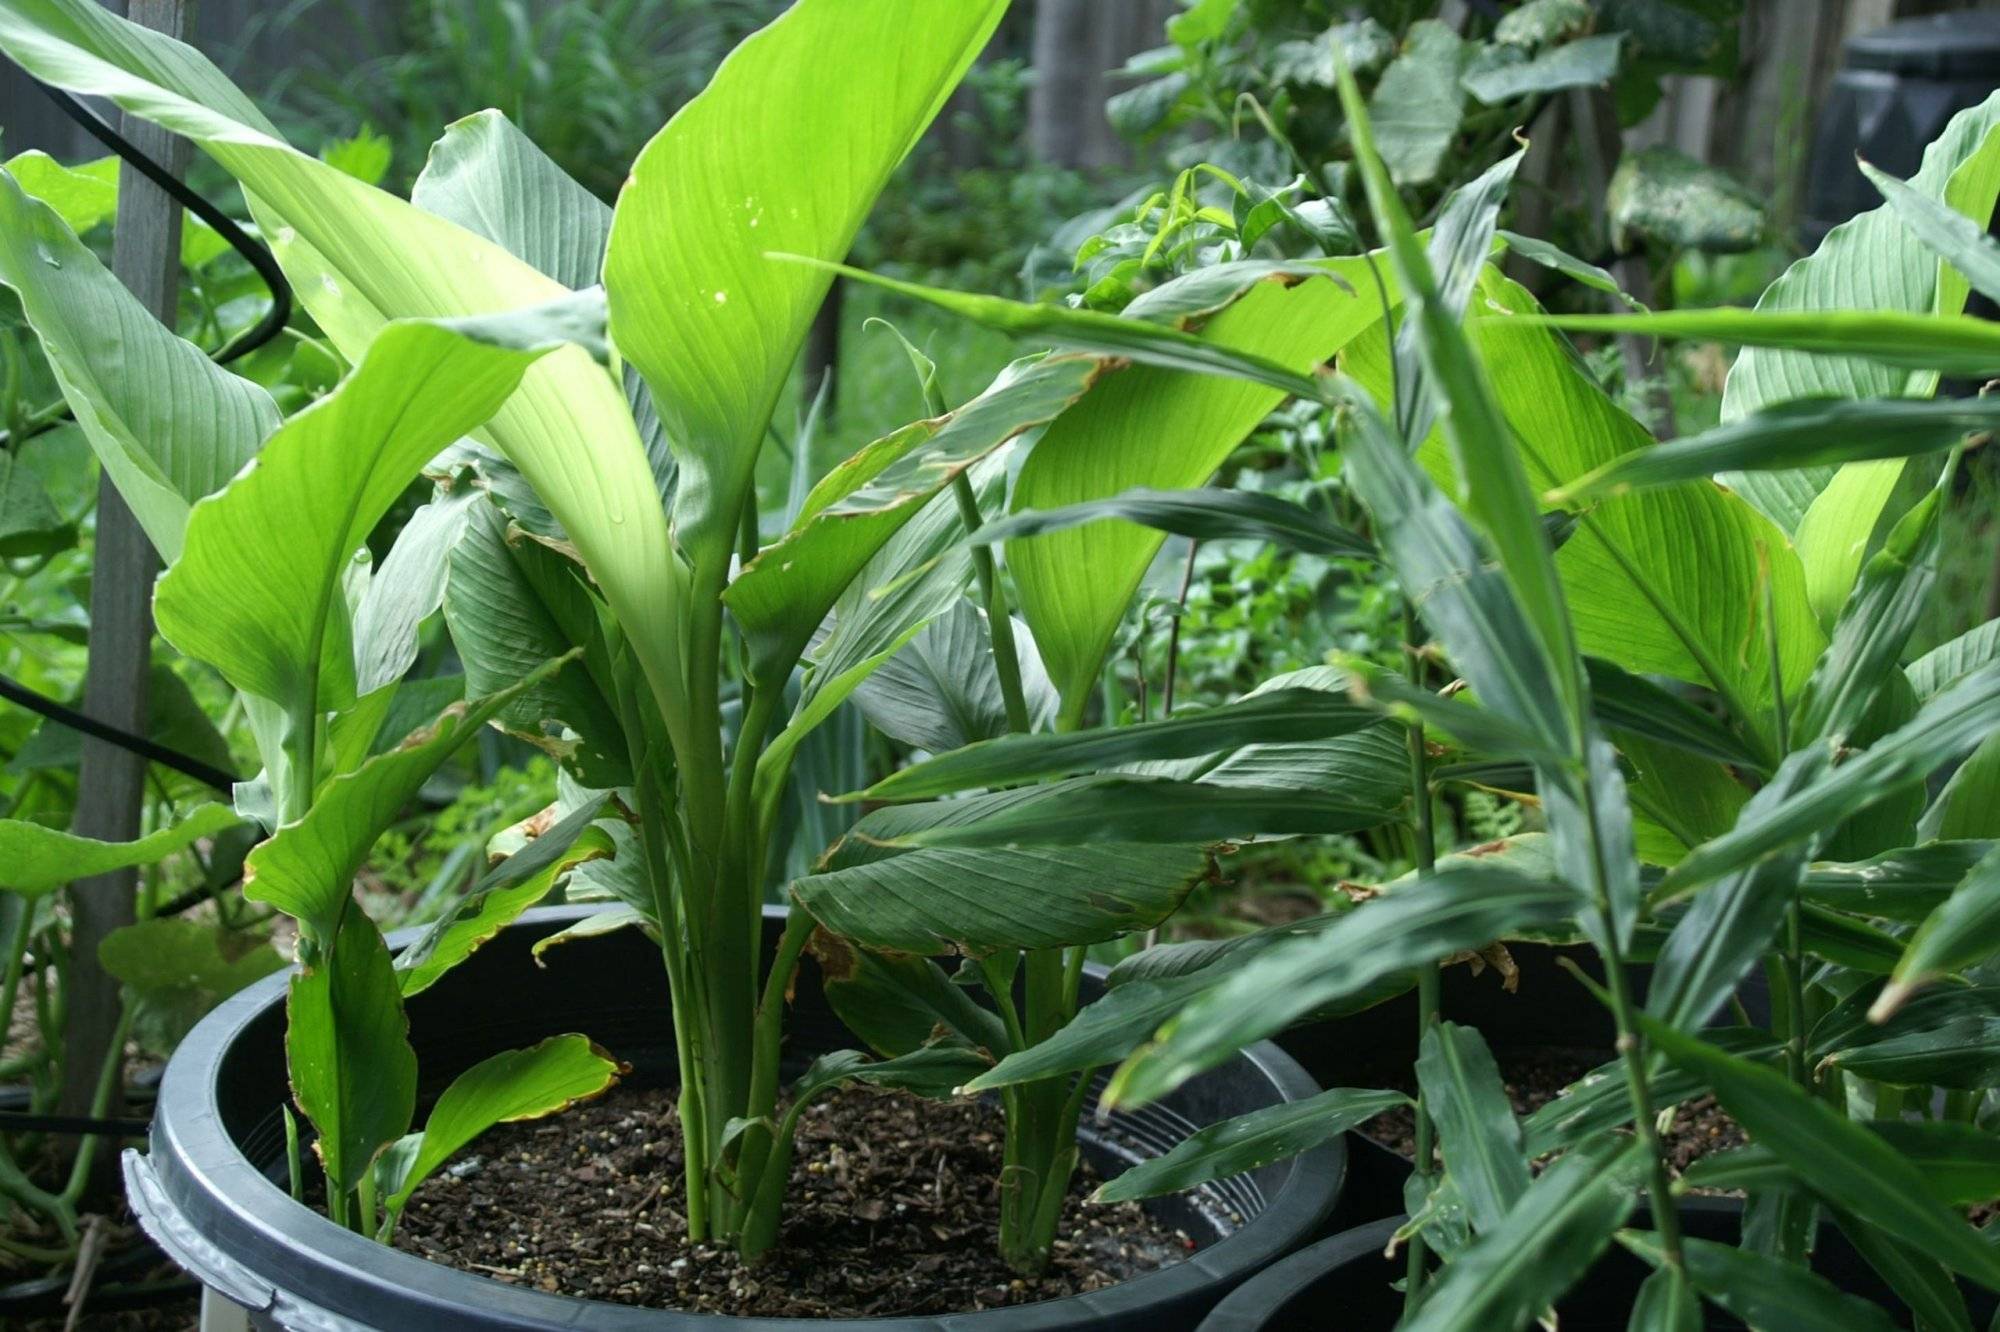
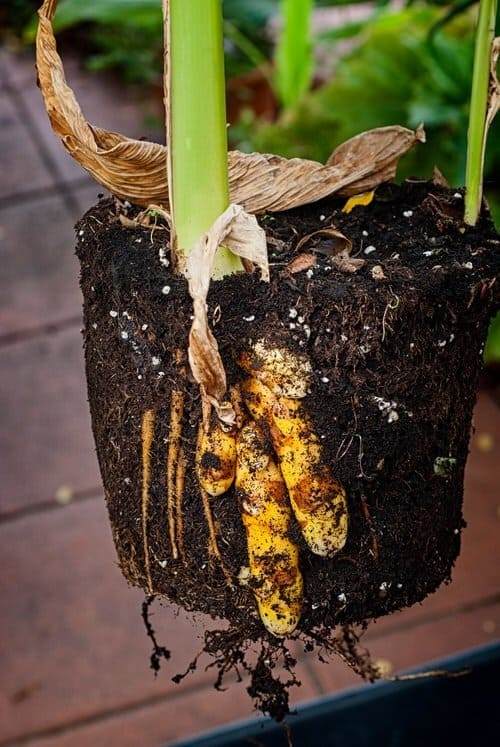
Selecting the right container is pivotal for the success of your turmeric crop. Turmeric needs room to spread its rhizomes, so opt for a container that’s at least 18 inches in diameter and 12 inches deep. Your pot should have drainage holes to prevent waterlogged soil, which can lead to root rot.
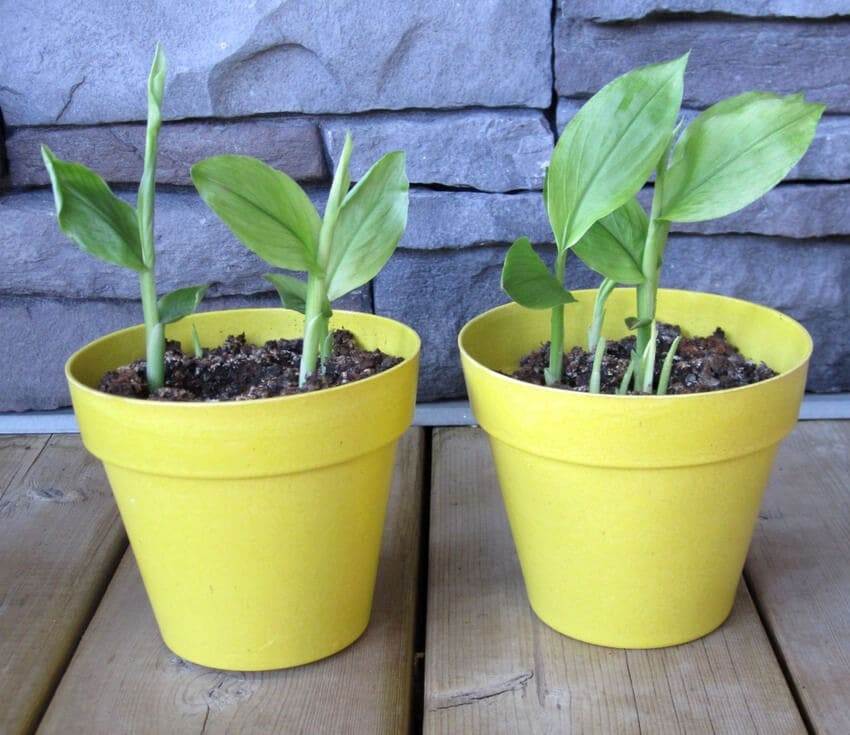
Containers made of clay or plastic are common choices, but any material that retains moisture and heat will work. Keep in mind that turmeric is perennial, so consider the longevity and durability of your chosen pot.

See also  Bonsai Tomatoes: How To Grow And Care For These Tiny And Tasty Plants

3. Selecting Healthy Turmeric Rhizomes

The quality of your turmeric rhizomes is a key factor in successful cultivation. Choose fresh and healthy rhizomes, preferably from a reputable nursery or online source. Cut the rhizomes into smaller pieces, each with a couple of buds, and allow them to air-dry for a day or two.
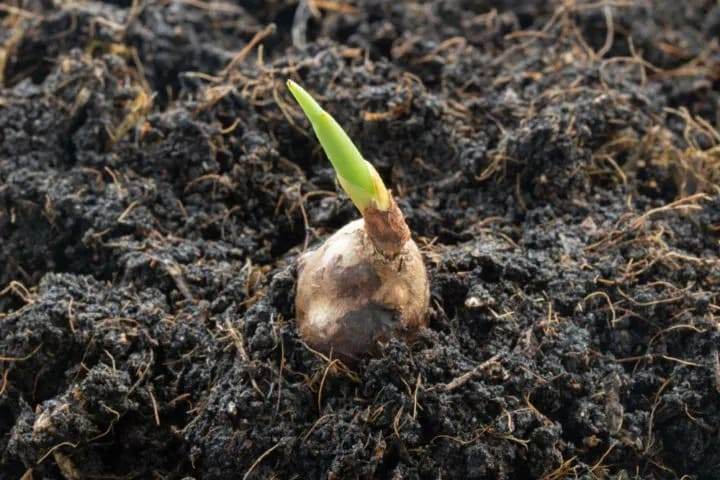
In terms of soil, turmeric thrives in well-draining, loose, and rich organic soil. A mix of potting soil and compost works well. You can add a bit of sand to enhance drainage.

4. Planting Turmeric Rhizomes

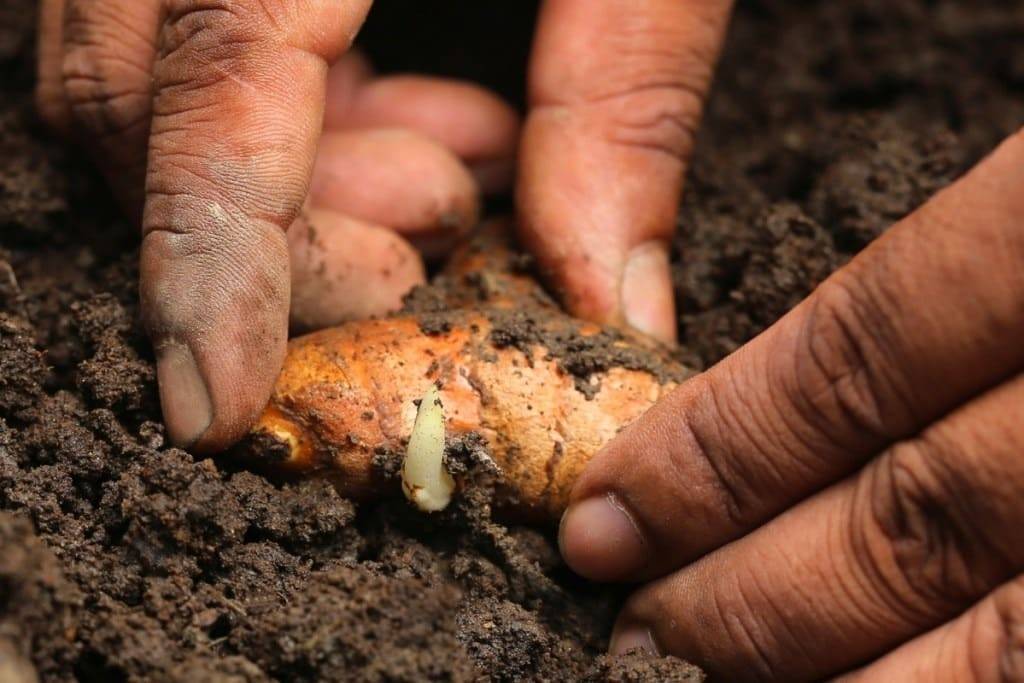
Plant your prepared rhizomes about 2 inches deep, with the buds facing up. Space them about 4 to 6 inches apart in the container. Water thoroughly after planting to settle the soil. You’ll see sprouts emerging within a few weeks. However, turmeric is a slow grower, and it may take several months before you see significant growth.
Key Turmeric Requirements

1. Water

The watering needs for turmeric are similar to ginger. It is important to keep the soil consistently moist during the growing season, from spring to fall. During dry weather, you can spray the leaves with water to increase the humidity around the plant. Another helpful tip is to group turmeric with other plants to create a microclimate.
2. Temperature

Turmeric grows best when the temperature is between 68-95 F (20 and 35 °C). If the temperature falls below 50 F (10 C), the plant may experience difficulties.

3. Fertilizer

To promote the healthy growth of turmeric in pots, it is recommended to apply a general liquid fertilizer every month during the growing season. Dilute the fertilizer to 1/4 of its original strength for optimal results. Additionally, incorporating manure or compost as a side dressing can further enhance the plant’s nourishment. Another option for you is to include kelp and neem cake meals in the fertilization routine.

See also  5 Hidden Secrets To Grow Perfect Pumpkins In Your Garden

4. Overwinter

As you’re cultivating turmeric in a pot, make sure to bring the plant indoors, even under low-light conditions. The main goal is to protect the roots throughout the winter period. It’s crucial to maintain a minimum temperature of approximately 60–64 F (15–18 C) when growing turmeric indoors. Additionally, you can also enjoy harvesting it during this time.

Harvest Time

1. Harvesting

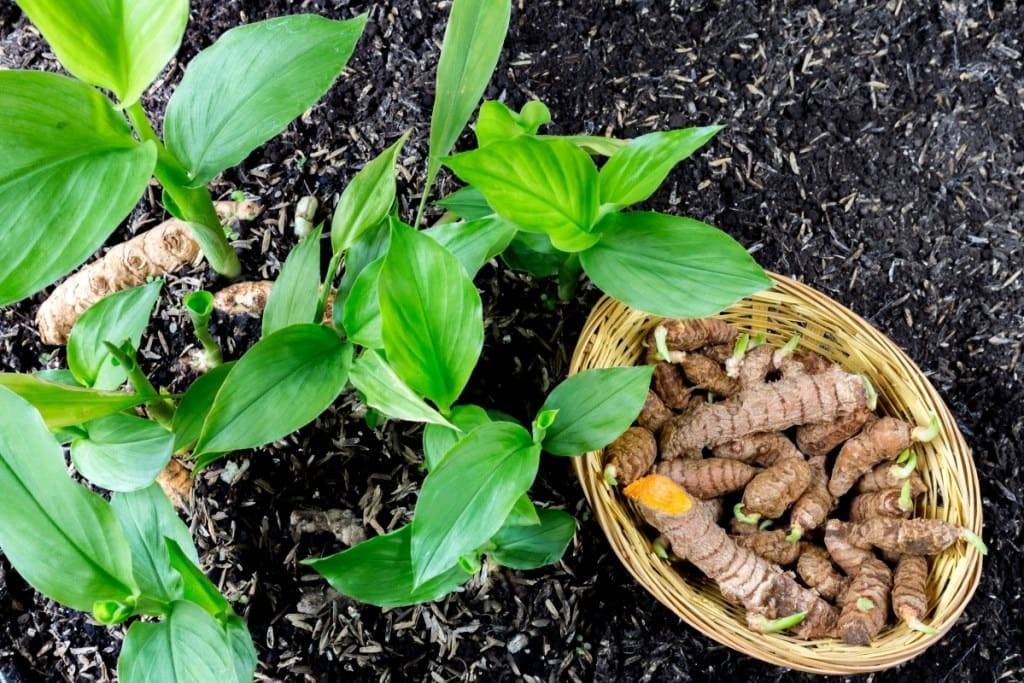
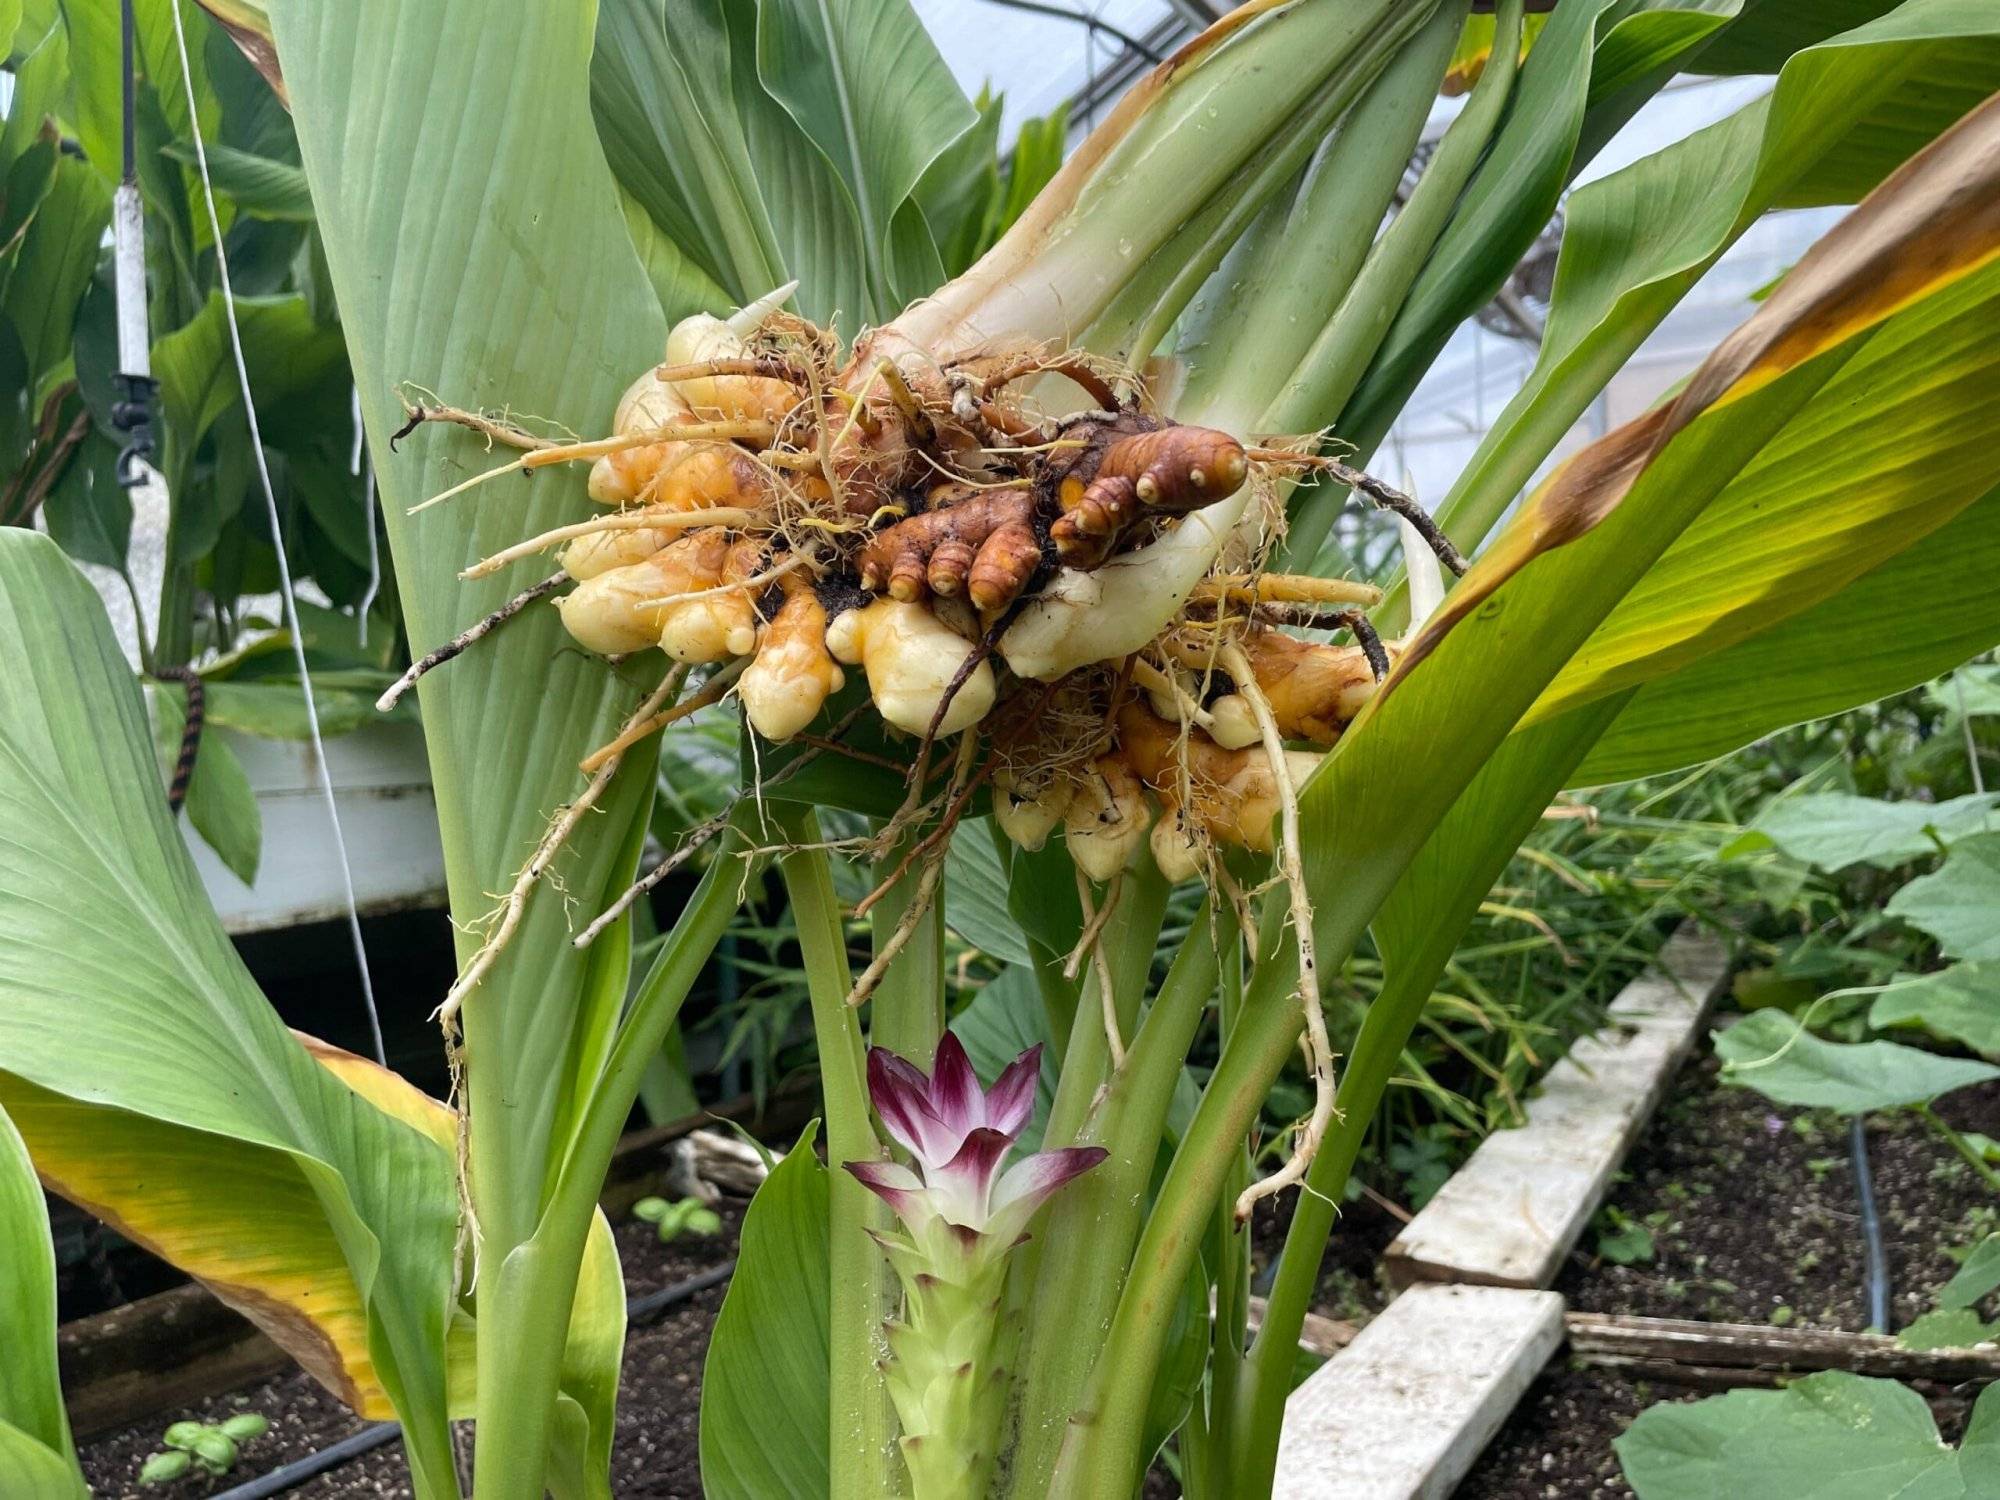
When the leaves of your turmeric plant begin to turn yellow and dry up, it’s time to harvest. Dig up the rhizomes carefully to avoid damaging them. You can harvest the entire crop or leave some rhizomes to continue growing.
2. Storage

Store your harvested rhizomes in a cool, dark, and dry place. They can last for several months if stored correctly. Plus, remember to keep some rhizomes for replanting in the next growing season.

FAQS

1. Are There Common Pests Or Diseases To Watch Out For?

Turmeric is relatively pest and disease-resistant, but you should monitor for garden pests like aphids and mealybugs. Neem oil or insecticidal soap can help if needed.
2. Can I Use Fresh Turmeric For Its Potential Health Benefits?

Yes, fresh turmeric is celebrated for its potential health benefits, particularly its anti-inflammatory and antioxidant properties. You can use it to make turmeric tea or incorporate it into your daily cooking.

3. Can I Use Turmeric Leaves?

Another surprising benefit of growing turmeric in containers is that you can make use of its leaves. Similar to banana leaves, they can be used to wrap fish and other items that are placed on the grill. Additionally, they can be dried and ground into a vibrant green powder to enhance the flavors of various Indian-inspired dishes. When harvesting, just keep in mind to harvest one or two leaves from each plant to avoid causing stress.
See also  Bitter Melon: How To Grow This Exotic Vegetable In Containers At Home

Turmeric is a superfood with boundless benefits that deserves a place in your garden or balcony. Now that you’re equipped with all the essentials, it’s time to embark on your container turmeric-growing journey, enjoy the satisfaction of nurturing this exotic spice from a pot, and savor the rich flavors and potential health benefits it brings to your table.

How To Grow Strawberries In Containers Everything You Need To Know From Soil To Harvest🌱

How To Grow Strawberries In Containers: Everything You Need To Know From Soil To Harvest🌱

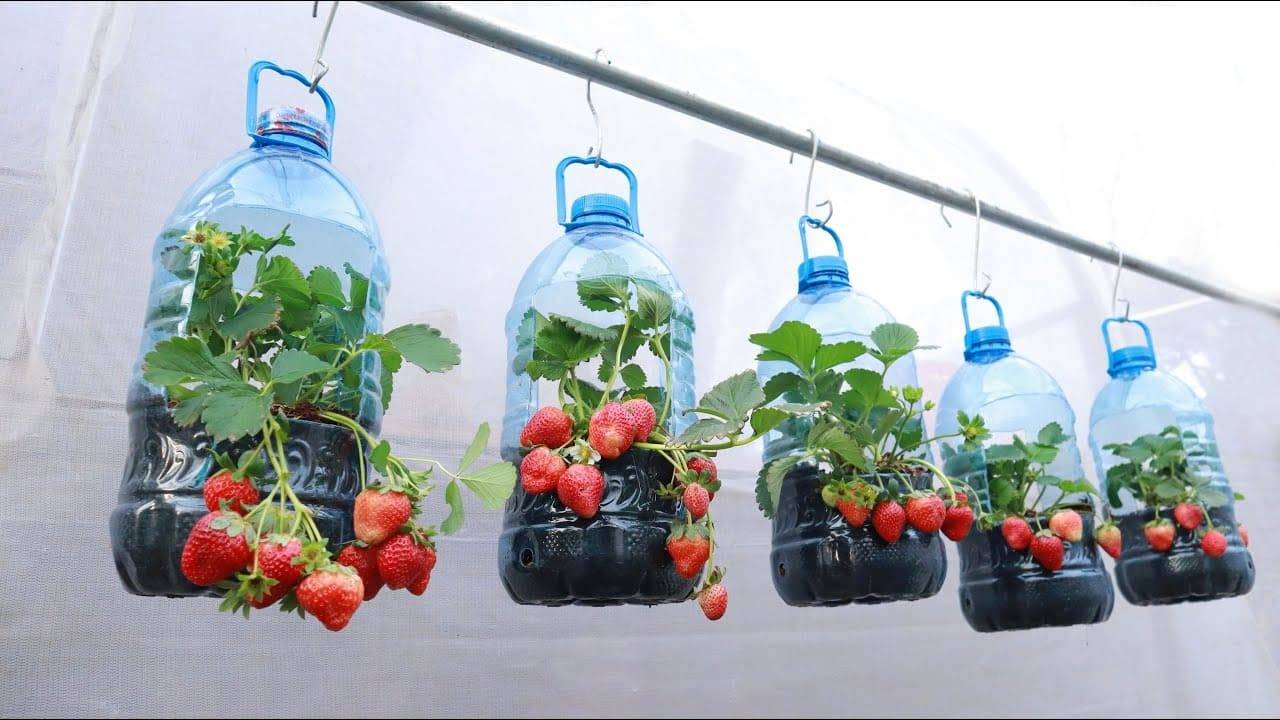
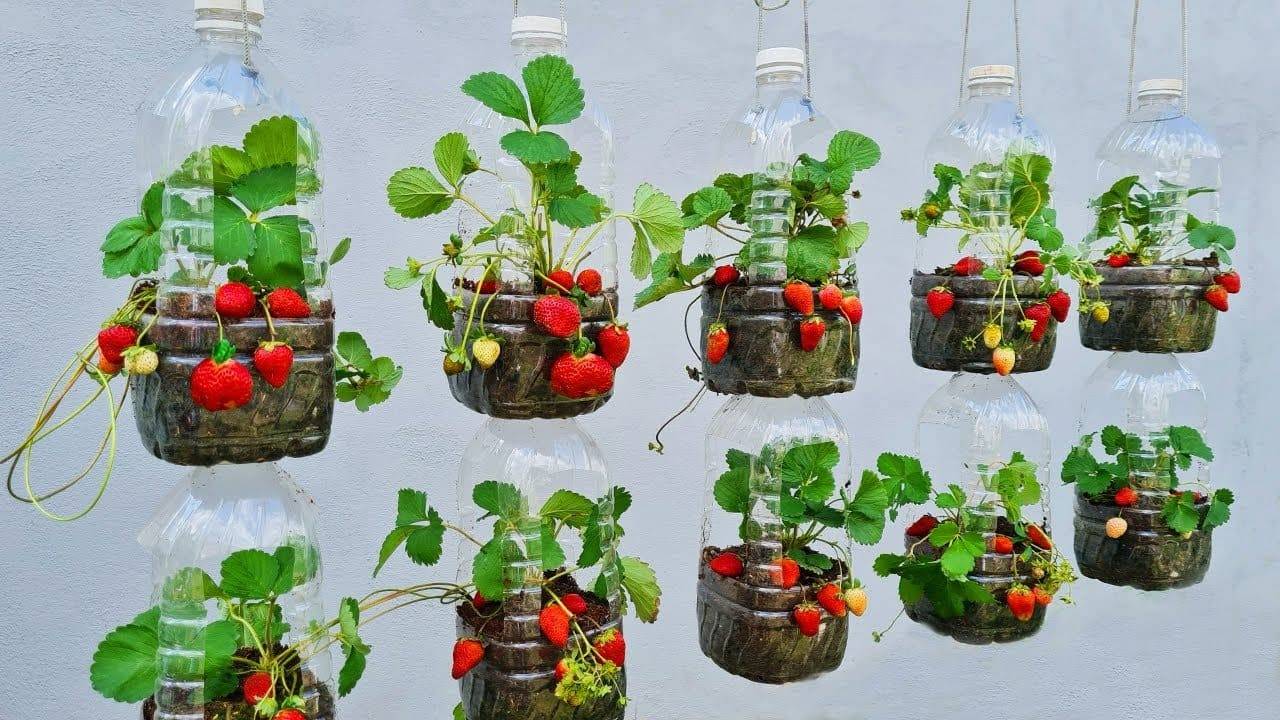
Growing  strawberry in containers is a delightful endeavor, bringing the joy of cultivating your own juicy, red gems right into your hands. Not only does it add a touch of greenery to your living space, but it also allows you to relish the unmatched sweetness of freshly picked  strawberries. In this guide, we will walk you through all the steps to achieve bountiful strawberry production using this space-efficient method.

Start Your Container Gardening

Step 1: Choosing Strawberry Varieties

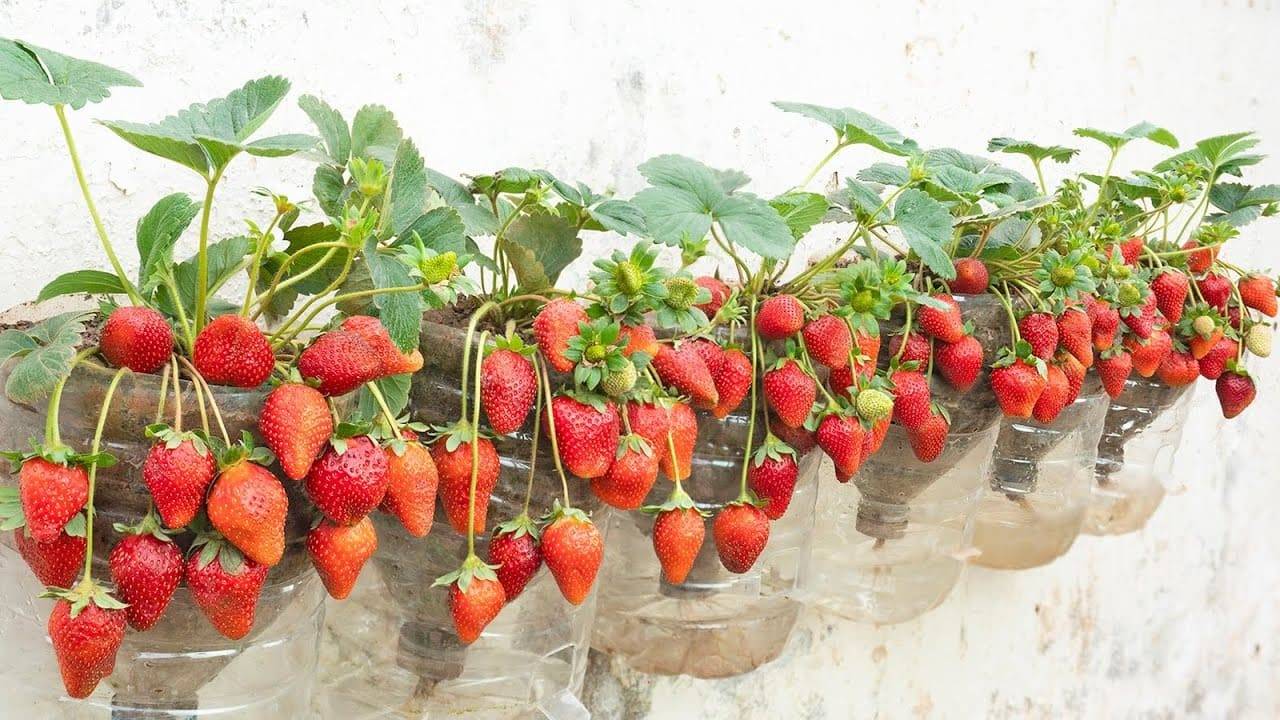
Selecting the right strawberry varieties sets the foundation for a successful harvest. Consider the space you have and whether you want June-bearing, everbearing, or day-neutral varieties. For container gardening, compact or trailing varieties like Alpine or Ozark Beauty work exceptionally well. These varieties adapt gracefully to the confined space of plastic bottles while still delivering that burst of strawberry flavor.

Step 2: Preparing Soil And Containers

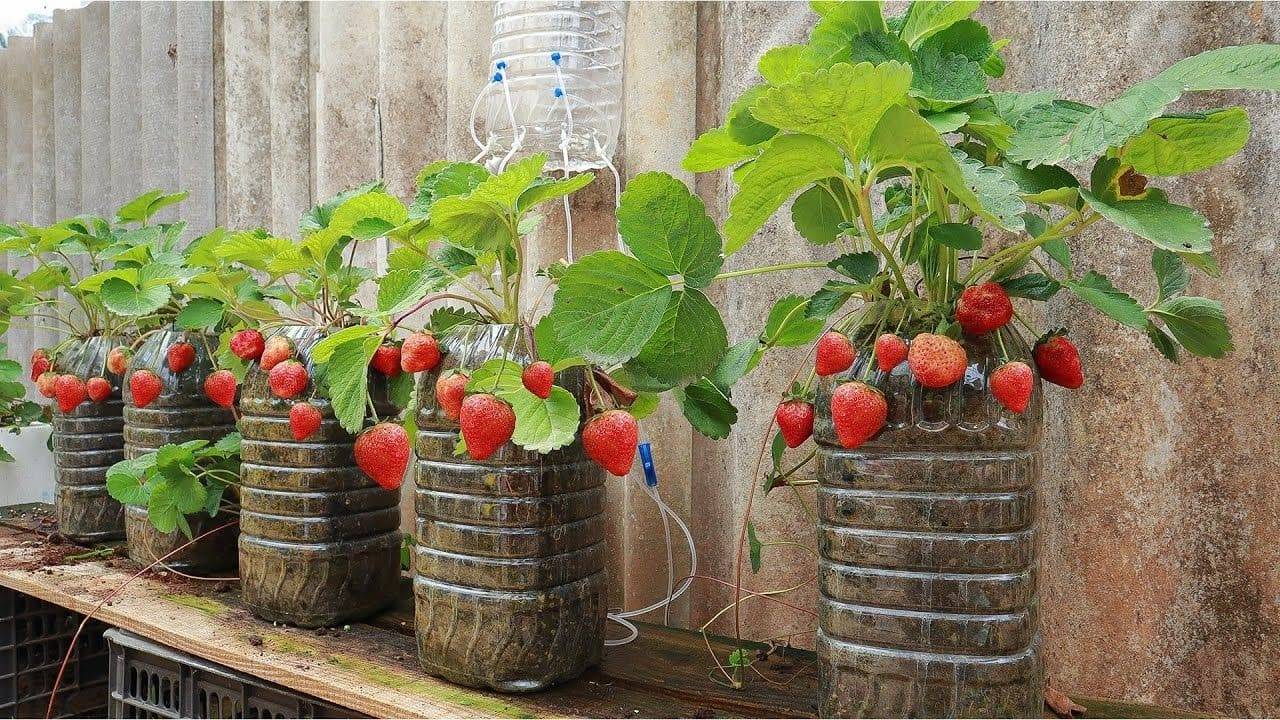
Creating a conducive environment for your strawberries begins with the  soil and containers. Opt for a well-draining, nutrient-rich potting mix that promotes healthy root development. 5-liter plastic bottles, with their versatility and availability, make excellent containers.

Cut them horizontally, leaving the bottom intact as a reservoir for water. Drill holes in the cap end for drainage. This upcycling not only reduces waste but also provides an ideal environment for strawberries to flourish.

Step 3: Planting Strawberries

Planting strawberries in plastic bottles requires a strategic approach. You should ensure the soil is moist but not waterlogged before planting. Set the strawberry  plants carefully, making sure the crown sits just above the soil surface. If planting multiple strawberries in one bottle, maintain a spacing of about 8–12 inches between plants. Once planted, water thoroughly, allowing the roots to establish themselves in their new home.

See also  5 Tips To Grow Healthy And Productive Guava Trees From Guava Leaves

Step 4: Give Strawberries Your Care

1. Water

 Strawberry plants need consistent soil moisture to produce maximum  fruit. You should water them regularly, especially during dry periods or when the plants are flowering and fruiting. The soil should be lightly moist but never soggy. About an inch of water per week should be sufficient.

2. Fertilizer

Strawberry plants are heavy feeders, so you should prepare the soil in advance by mixing in aged manure and/or compost. The soil should also be well-draining and slightly acidic, with a pH of 6 to 6.5. You can also apply a balanced fertilizer, such as 10-10-10, every three to four weeks during the growing season.

3. Pruning

Strawberry plants need pruning to remove any unwanted or diseased parts of the plants, such as leaves, stems, flowers, or runners.

Step 5: Harvest

Once your strawberries are a deep red hue, pluck them gently, ensuring you leave the green cap intact. Harvest in the morning when the berries are cool for the best flavor. Do not pull the berry by the cap or the calyx, as this can damage the fruit and the  plant.

Since strawberries are best enjoyed fresh, try to consume them shortly after harvesting. If you find yourself with an abundance, freezing or making preserves is a delightful way to savor its sweetness over an extended period.

Keep In Mind

  1. Sunlight: Adequate sunlight is vital, so place your bottles in a location that receives at least 6 hours of sunlight. Occasionally, you can rotate the bottles to ensure all sides of the  plants receive equal sunlight exposure.
  2. Pest and disease: Strawberry plants are susceptible to several pests and diseases, such as aphids, spider mites, slugs, snails, birds, rodents, powdery mildew, blight, and fruit rot. To prevent or control these problems, you can rotate crops every few years or use organic pesticides.
  3. Check the containers: You should regularly check the condition of your plastic bottles, replacing any that show signs of wear or damage.
See also  Grow Asparagus In Containers: How To Enjoy This Perennial Vegetable Year-Round

In conclusion, growing  strawberries in plastic bottles is a dynamic and accessible way to indulge in homegrown goodness. From choosing the right varieties to caring for your plants and relishing the fruits of your labor, this journey promises not just strawberries but a fulfilling gardening experience. So if you’re a fan of these juicy fruits, gather your tools and start gardening.

How to Get Rid of Slugs and Snails Safely and Effectively🌱

How to Get Rid of Slugs and Snails Safely and Effectively🌱

Do you know there are about 200 different species of slugs and snails that could be lurking in your garden right now?

These pesky mollusks are notorious for their voracious appetites, particularly when it comes to tender, young plants.

The damage these creatures can cause is immense, they leave plants with ragged holes and slimy trails.

While many turn to chemical solutions like metaldehyde, these can be harmful to pets, wildlife, and the environment.

That’s why it’s crucial to explore safe and effective methods to keep these pests at bay.


Identifying Slugs and Snails

What are Slugs and Snails?

Slugs and snails, though often lumped together, have their differences.

Snails carry a coiled shell on their backs, which can range in color from brown to creamy white. Slugs, on the other hand, are shell-less, giving them more flexibility to hide in tight spaces.

They can vary in size from less than an inch to several inches long and come in colors like gray, black, and brown.

Their lifecycle starts as eggs, these eggs hatch into juveniles, which look like smaller versions of the adults, and mature within a few months.

Slugs and snails are mostly nocturnal, coming out at night or during rainy days to feast. They prefer cool, damp environments and can often be found hiding under leaves, rocks, or in the soil during the day.


Signs of Slugs and Snails

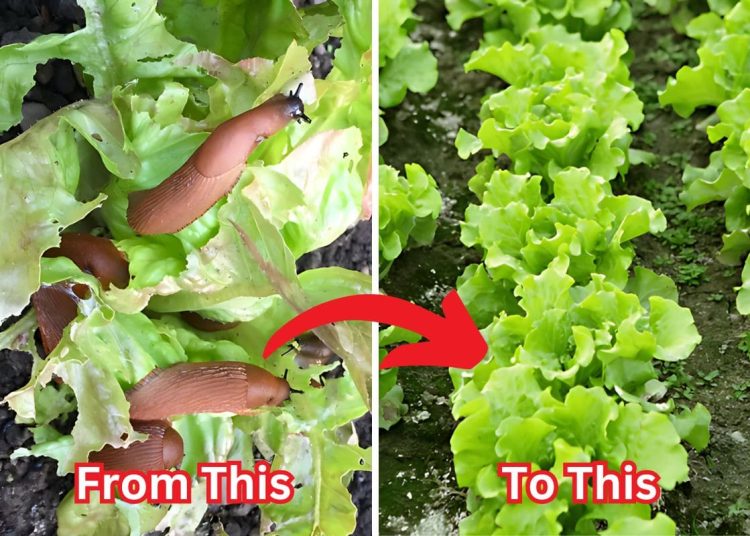
One evening, I went to check on my garden and noticed something was off. The leaves of my once-thriving lettuce plants were riddled with irregular holes.

A closer inspection revealed the telltale signs of a slug and snail infestation. If you’ve ever found similar damage in your garden, you might be dealing with these pesky intruders too.

Slugs and snails leave behind slimy trails that glisten in the sunlight. These trails are often the first clue that they’ve been feasting on your plants.

They are voracious, so you’ll also notice chewed leaves and, sometimes, entire seedlings that have been devoured down to the stem.

They tend to hide during the day, so you might find them under leaves, rocks, or within the soil if you look closely.


How to Control and Prevent Slugs and Snails

#1. Use Coffee Grounds

Slugs and snails can’t stand the texture of coffee grounds. The coarse particles irritate their soft bodies, deterring them from crossing. Moreover, the caffeine in the grounds can be toxic to them.

After brewing your coffee, save the grounds and let them dry out. Then, spread a thin layer around the perimeter of your garden beds or directly around individual plants.

You can even mix the grounds into the top layer of soil for added protection. I noticed a significant decrease in slug activity around my lettuce once I started using this method.


#2. Use Eggshells

Don’t throw away eggshells! After enjoying your eggs, rinse the shells and let them dry. Once dry, crush them into small pieces and scatter them around the base of your plants.

The sharp edges of the eggshells create an abrasive surface that slugs and snails are reluctant to cross.

These pests have soft, sensitive bodies, and the jagged edges of the shells can cause discomfort and even injury, making them turn away in search of an easier meal.

However, you need to keep the barrier thick enough and replenish it regularly, especially after rain, as the shells can break down over time.

Another consideration is that while eggshells deter slugs, they also add calcium to the soil, which is a bonus for your plants.


#3. Apply Beer Traps

Similar to eggshells, you can use old yogurt cups that work perfectly – and bury them in the soil around the plants, leaving the rim slightly above ground level.

Then, fill the cups halfway with beer. The yeast in the beer attracts slugs and snails, luring them in for a drink. Once they fall in, they can’t escape and drown.

Every couple of days, you should check the trap, especially after rainy nights when the slugs are most active.

I emptied and refilled the cups as needed, this method is affordable, eco-friendly that can save my plants from further damage.


#4. Use Nematodes

Nematodes are tiny, but they pack a punch when it comes to slug control. These beneficial organisms hunt down slugs in the soil and release bacteria that infect and kill them.

It sounds like something out of a sci-fi movie, but it’s an entirely natural and effective method. I ordered a packet of nematodes online and followed the simple application instructions.

Firstly, I mixed the nematodes with water and used a watering can to distribute the mixture evenly across my garden beds, focusing on areas with the most slug activity.

It’s best to do this in the early morning or late evening. Within a couple of weeks, I noticed a significant decrease in the slug population.


#5. Encourage Natural Predators

I love natural pest control by attracting frogs, toads, and birds to my garden. To create a habitat that attracts these natural predators, I started by adding a small pond.

Frogs and toads quickly took up residence, then they thrive in moist environments and feast on slugs at night.

Birds are easier to attract. I installed bird feeders and bird baths to encourage their frequent visits.

In return, they help keep the slug population down, especially during the early morning hours when they are most active.#6. Apply Copper Tape

Last year, my neighbor suggested that I try copper tape as a barrier. I’d heard that it creates a mild electric shock that these pests can’t tolerate, so I was eager to see if it would work.

First, I cleaned the rims of my raised garden beds and pots to ensure the tape would stick well. Then, I carefully wrapped the tape around the edges.

It’s important to overlap the ends slightly to create a continuous barrier. For pots, I placed the tape a few inches from the top to prevent any ambitious slugs from climbing over.

The results were impressive. Slugs and snails seemed to avoid the plants protected by copper tape. I consider it as a long-lasting solution.


#8. Use Grit and Gravel

If grit and gravel are available, you should spread a layer of coarse grit around the base of your most vulnerable plants, such as lettuce and strawberries.

The sharp edges of the grit and gravel are uncomfortable for slugs and snails to crawl over, deterring these slimy invaders from reaching your plants.

I also see that this method is not only effective but also visually appealing, adding a decorative touch to the garden.


#9. Use Iron Phosphate

Unlike other chemical controls, iron phosphate is non-toxic to pets and wildlife, which was a major plus for me.

Iron phosphate works by disrupting the digestive system of slugs and snails. Once ingested, it causes them to stop feeding almost immediately, and they retreat underground to die.

To use iron phosphate, you need to scatter the granules evenly around the base of my plants, focusing on areas where slug activity is most noticeable.

It’s important to reapply after heavy rain. I was delighted to see that my plants were thriving again without the unsightly holes and slime trails.


#10. Apply Mulching

To prevent slugs and snails from coming back, you can consider some types of mulch like pine needles, straw, and cocoa hulls.

Pine needles and straw create a dry, prickly surface that slugs dislike crossing. Cocoa hulls not only deter slugs but also add a pleasant aroma to your garden.

You should spread a generous layer around the base of your plants, ensuring the soil is well covered but not piled up against the stems.

Additionally, it’s important to regularly remove debris and dead leaves, as these can provide hiding spots for slugs and snails.


#11. Water Properly

Slugs and snails thrive in moist environments, so you should water in the early morning to let the soil and plants dry out during the day.

Besides, proper watering also helps prevent other issues like mold and mildew, keeping your garden healthier overall.

I often do this method together with one of the above ways, and the number of slugs and snails reduces significantly.

But I didn’t stop there. Another trick I learned was using citrus peels to trap and deter slugs.

After enjoying oranges and grapefruits, I saved the peels and added them to the vinegar sprayer then apply it to the leaves. Surprisingly, there are almost no slugs and snails in my garden.

Grow Asparagus In Containers How To Enjoy This Perennial Vegetable Year-Round🌱

Grow Asparagus In Containers: How To Enjoy This Perennial Vegetable Year-Round🌱

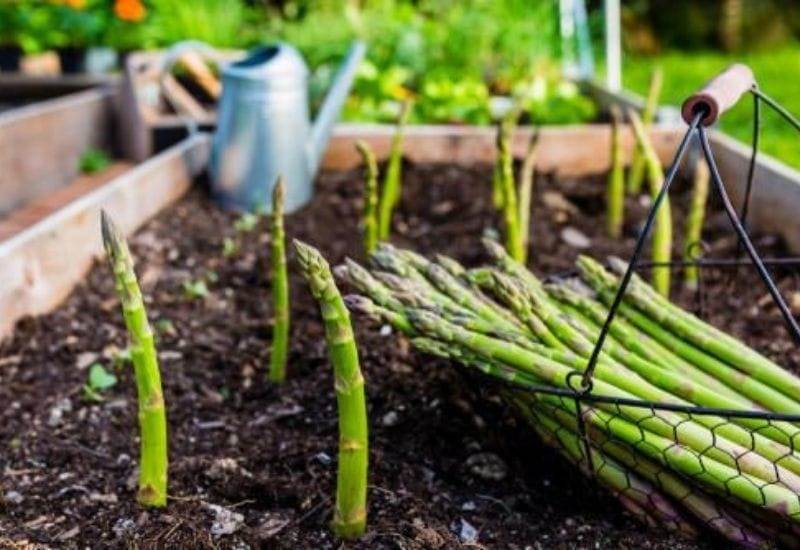
Do you dream of growing fresh, crisp asparagus but think it’s impossible due to your limited gardening space? Think again! Asparagus, that delightful springtime  vegetable, can thrive in containers. It is a resilient and  perennial crop that adds a delightful touch to both elegant kitchen gardens and permaculture food forests. Once the  plants have firmly taken root, gardeners can enjoy an annual yield of tender asparagus shoots.

Now, we will walk you through how to grow asparagus in containers, and you will wonder why you didn’t start planting it sooner.


1. Choose The Right Asparagus Varieties

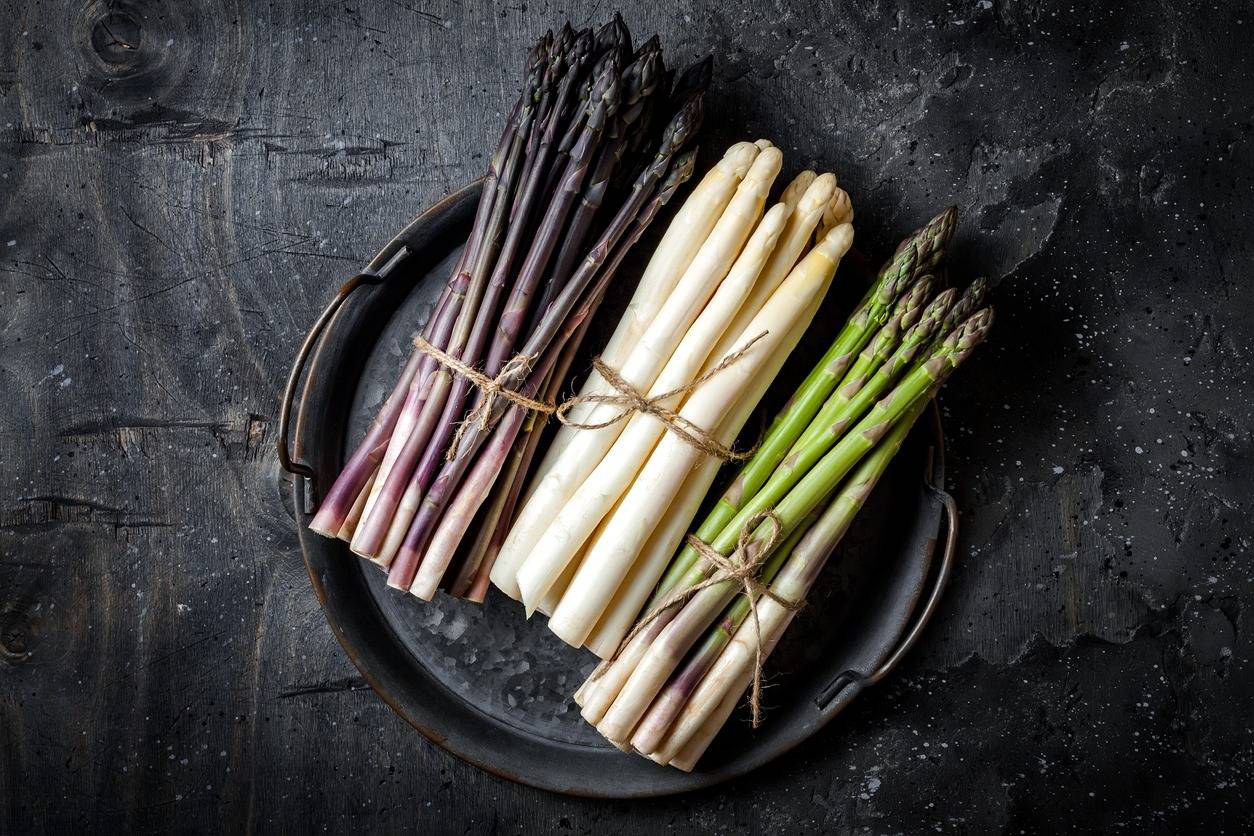
The journey to container-grown asparagus begins with selecting the right varieties. Two popular choices for container gardening are “Mary Washington” and “UC-157.” These varieties are well-suited for confined spaces because they produce compact, manageable ferns and an abundance of delicious, tender spears. When choosing your asparagus crowns, ensure they’re healthy and disease-free, as this will give your container garden a strong start.

2. Selecting The Perfect Container

The key to successful container gardening is the container itself. When it comes to asparagus, bigger is better. It would help if you aimed for a container that’s at least 18 inches deep and 18 inches wide, with a similar height. This will provide enough space for the asparagus roots to spread and grow comfortably. You can opt for plastic, clay, or wooden containers, ensure they have adequate drainage holes to prevent waterlogging as asparagus roots don’t like wet feet!

3. Planting Your Asparagus

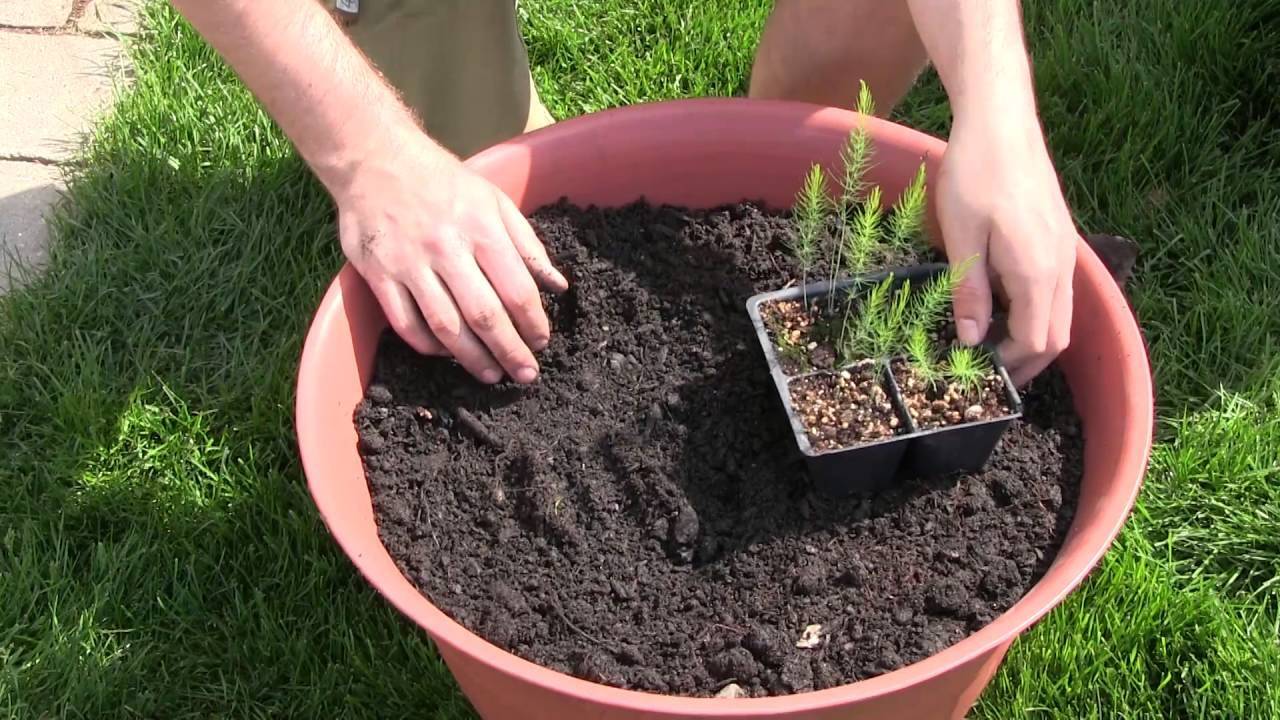
Now, it’s time to settle your asparagus to their new home. Fill your container with a high-quality potting mix that’s rich in organic matter and well-draining. Place the crowns in the soil, about 12 inches apart. Make sure the crown tops are about 2 inches below the soil surface. Asparagus crowns prefer to be snug in their containers, so there’s no need to go overboard with spacing. Plus, water the crowns thoroughly to help them settle in.

See also  4 Secrets To Grow Chayote In Containers Like A Pro

4. Caring For Your Asparagus

Asparagus loves the sun, so choose a sunny location for your containers, providing at least 6-8 hours of sunlight daily. If you’re short on sunny spots, consider rotating your containers throughout the day to ensure even exposure.

Asparagus doesn’t appreciate drying out or standing in water, so you should keep the soil consistently moist but not waterlogged. During its first 2 growing seasons, give it 1-2 inches of water per week. Mulching the soil can also help retain moisture.

As asparagus is a hungry  plant, it’s important to fertilize your containers with a balanced, slow-release fertilizer in early spring and mid-summer.

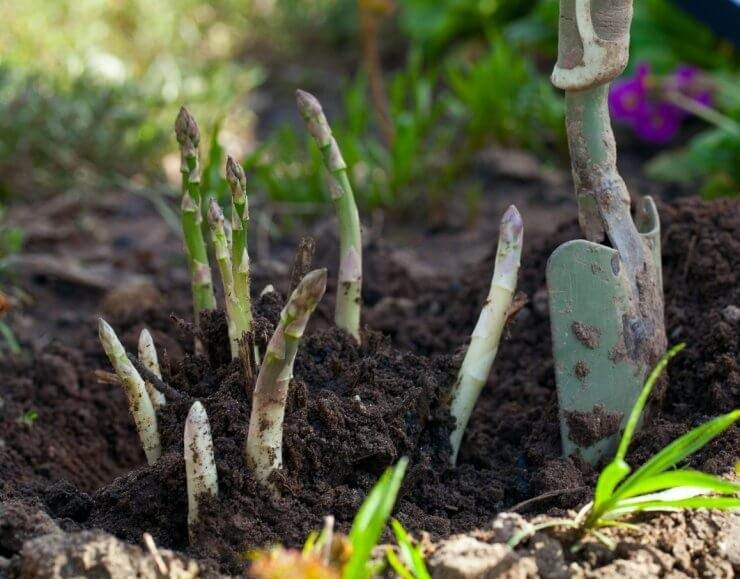
As your asparagus spears start to grow, you may need to thin them out. Allow some spears to mature into ferns while harvesting others. This helps the asparagus establish strong roots for future harvests.

5. Harvesting Asparagus

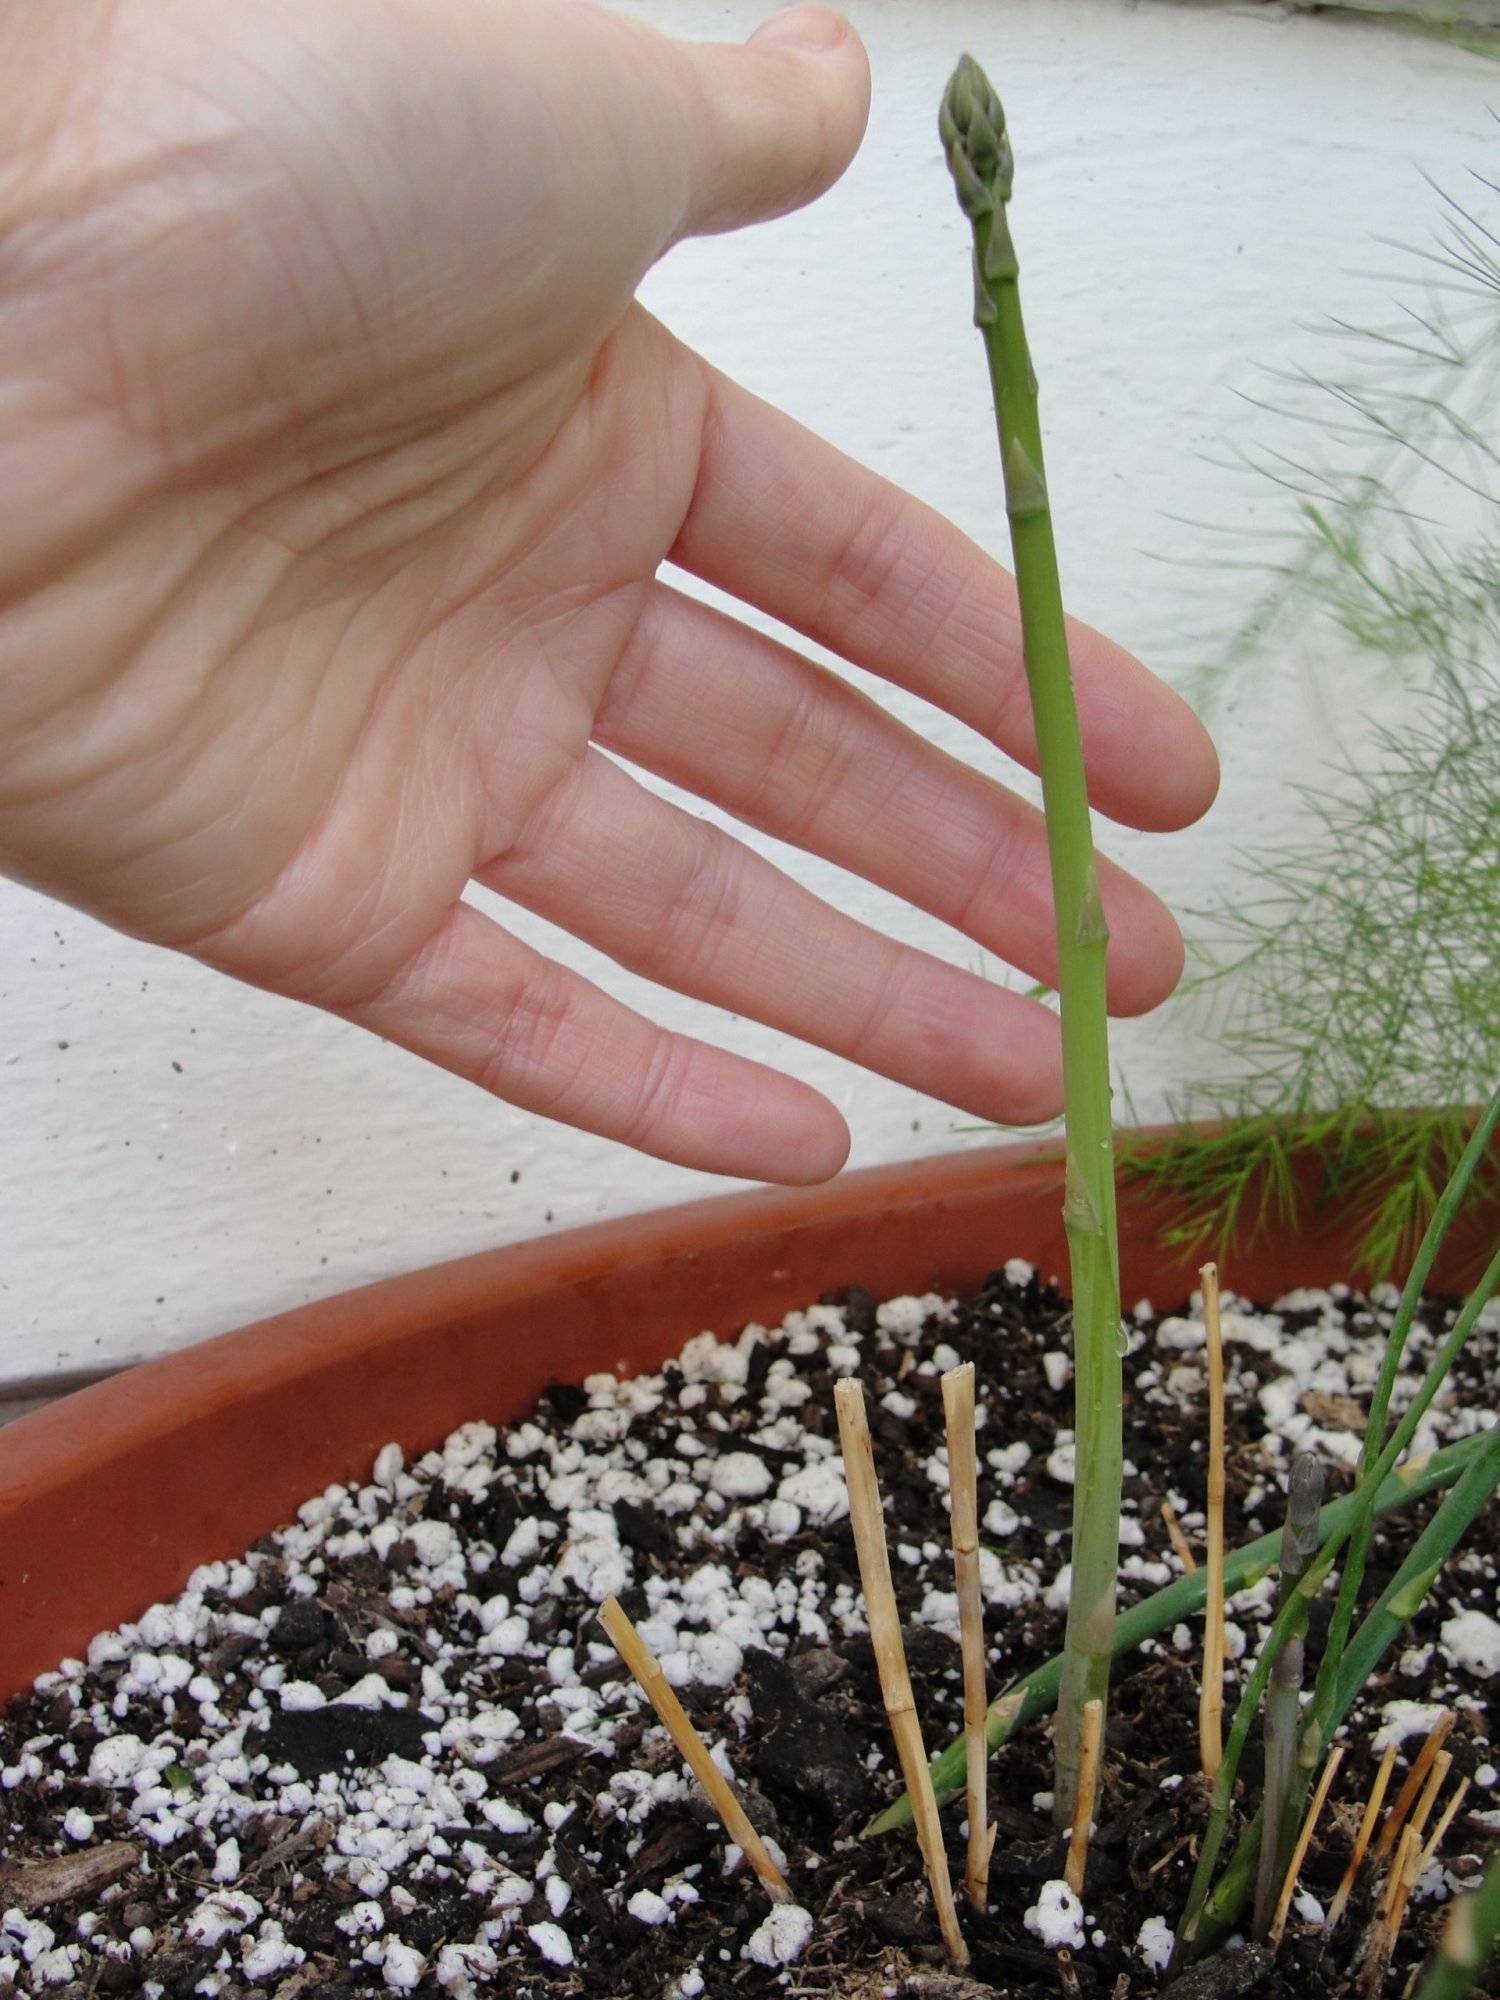
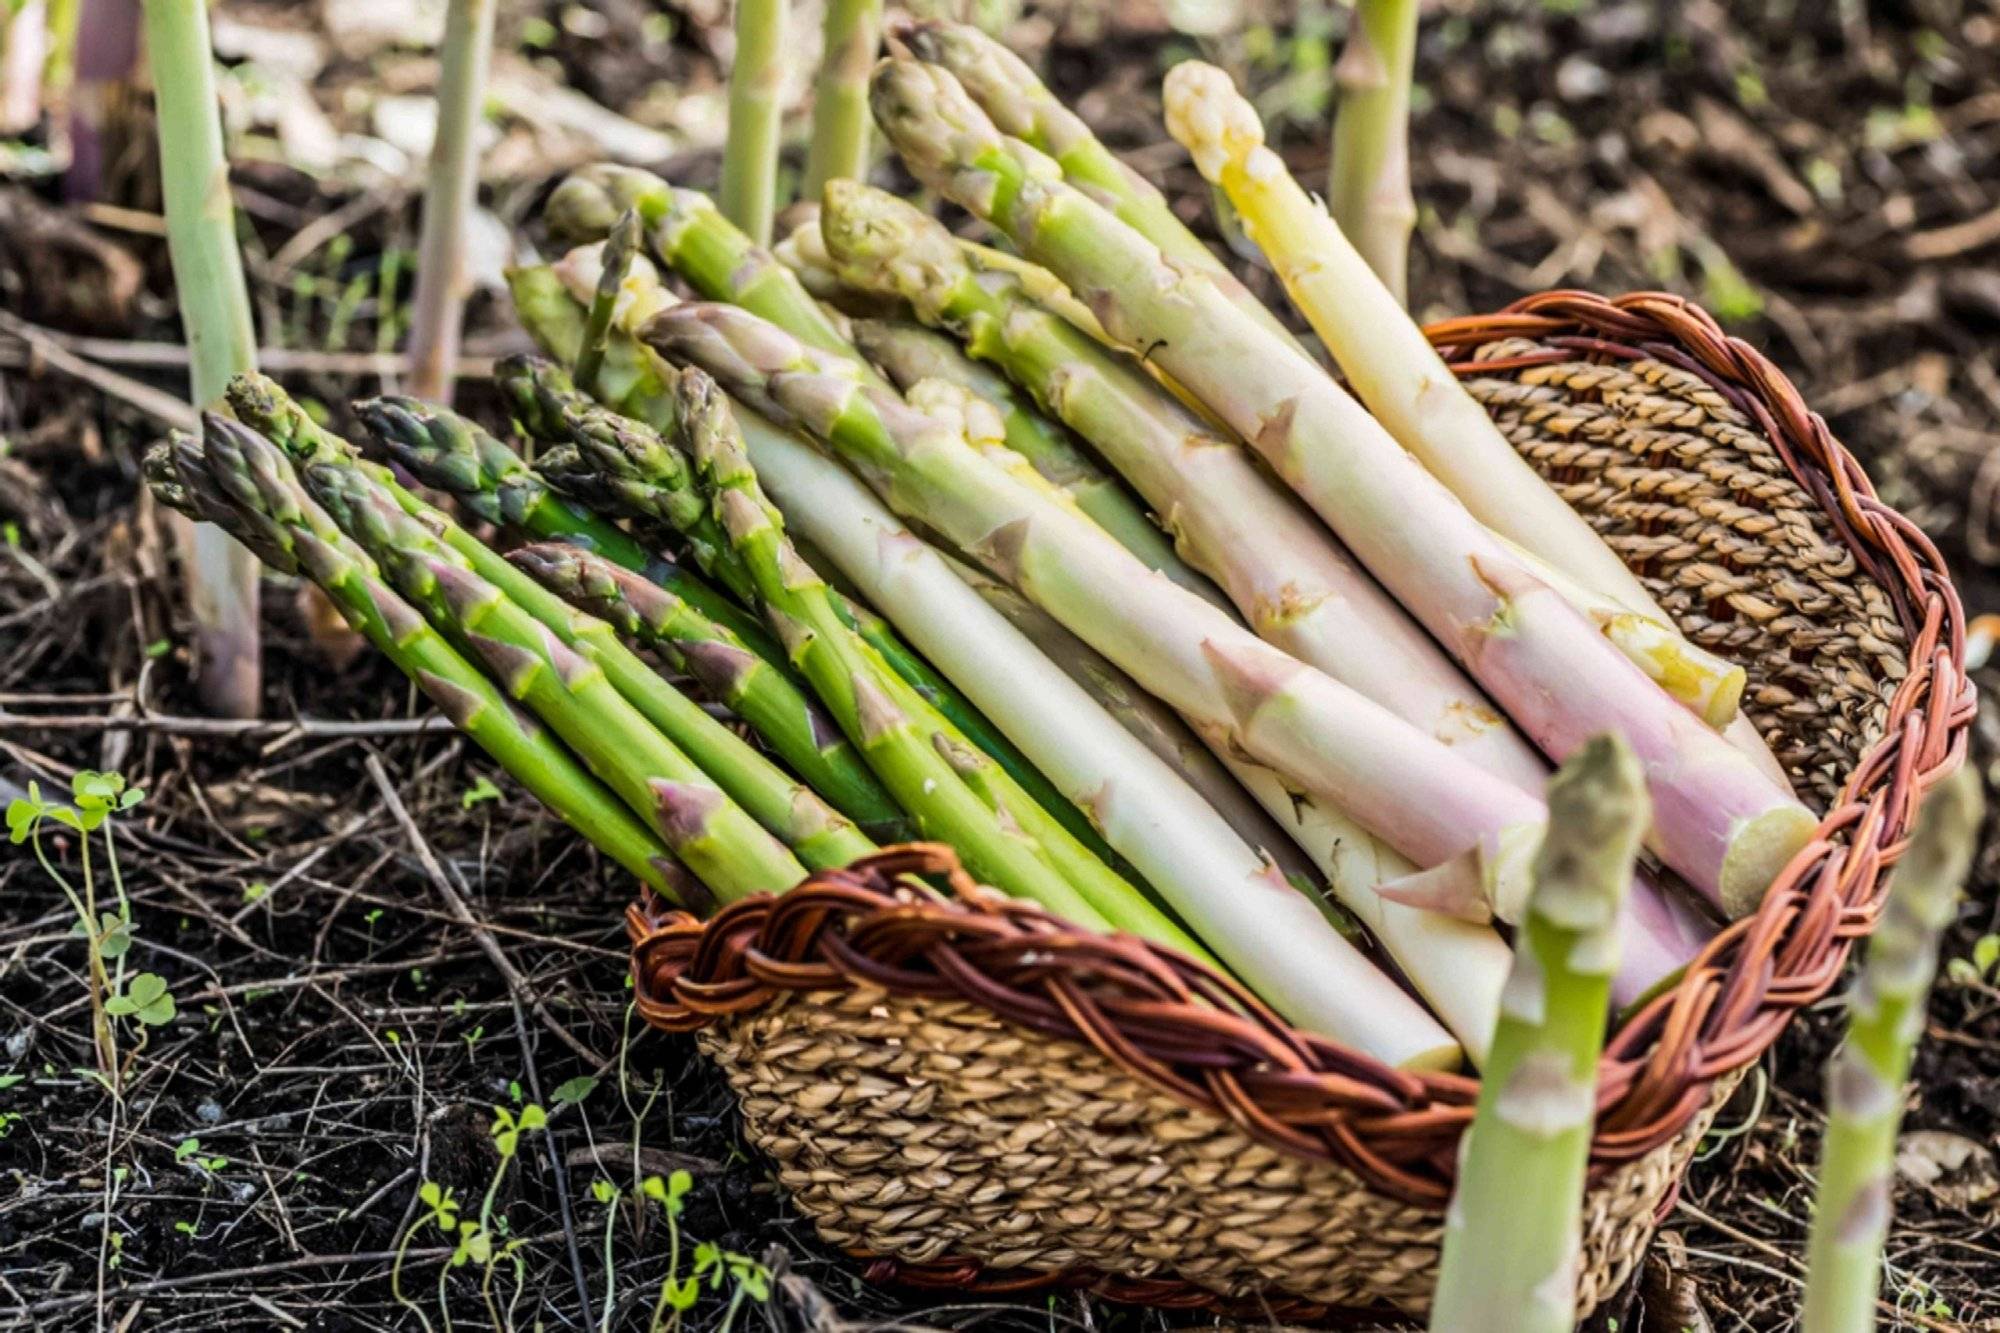
The moment you’ve been eagerly awaiting is the harvest. It’s best to resist the temptation to harvest spears during the first year to allow the plant to establish a robust root system. In the second year, you can start harvesting spears that are at least the thickness of your pinky finger. Use a knife or scissors to cut the spears just below the soil surface.

Once the harvest season is in full swing, you can enjoy fresh asparagus for several weeks. The more you harvest, the more the plant will produce. Just remember to stop harvesting when the spears become thin, about the diameter of a pencil, to allow the plant to rejuvenate.

With these steps, you’re well on your way to growing asparagus in containers. Whether you have a small balcony or a limited garden space, the joy of harvesting your own crisp, flavorful asparagus is within reach. So, grab your containers, your asparagus crowns, and let’s get growing!

7 Tips To Successful Container Gardening With Avocado Trees🌱

7 Tips To Successful Container Gardening With Avocado Trees🌱

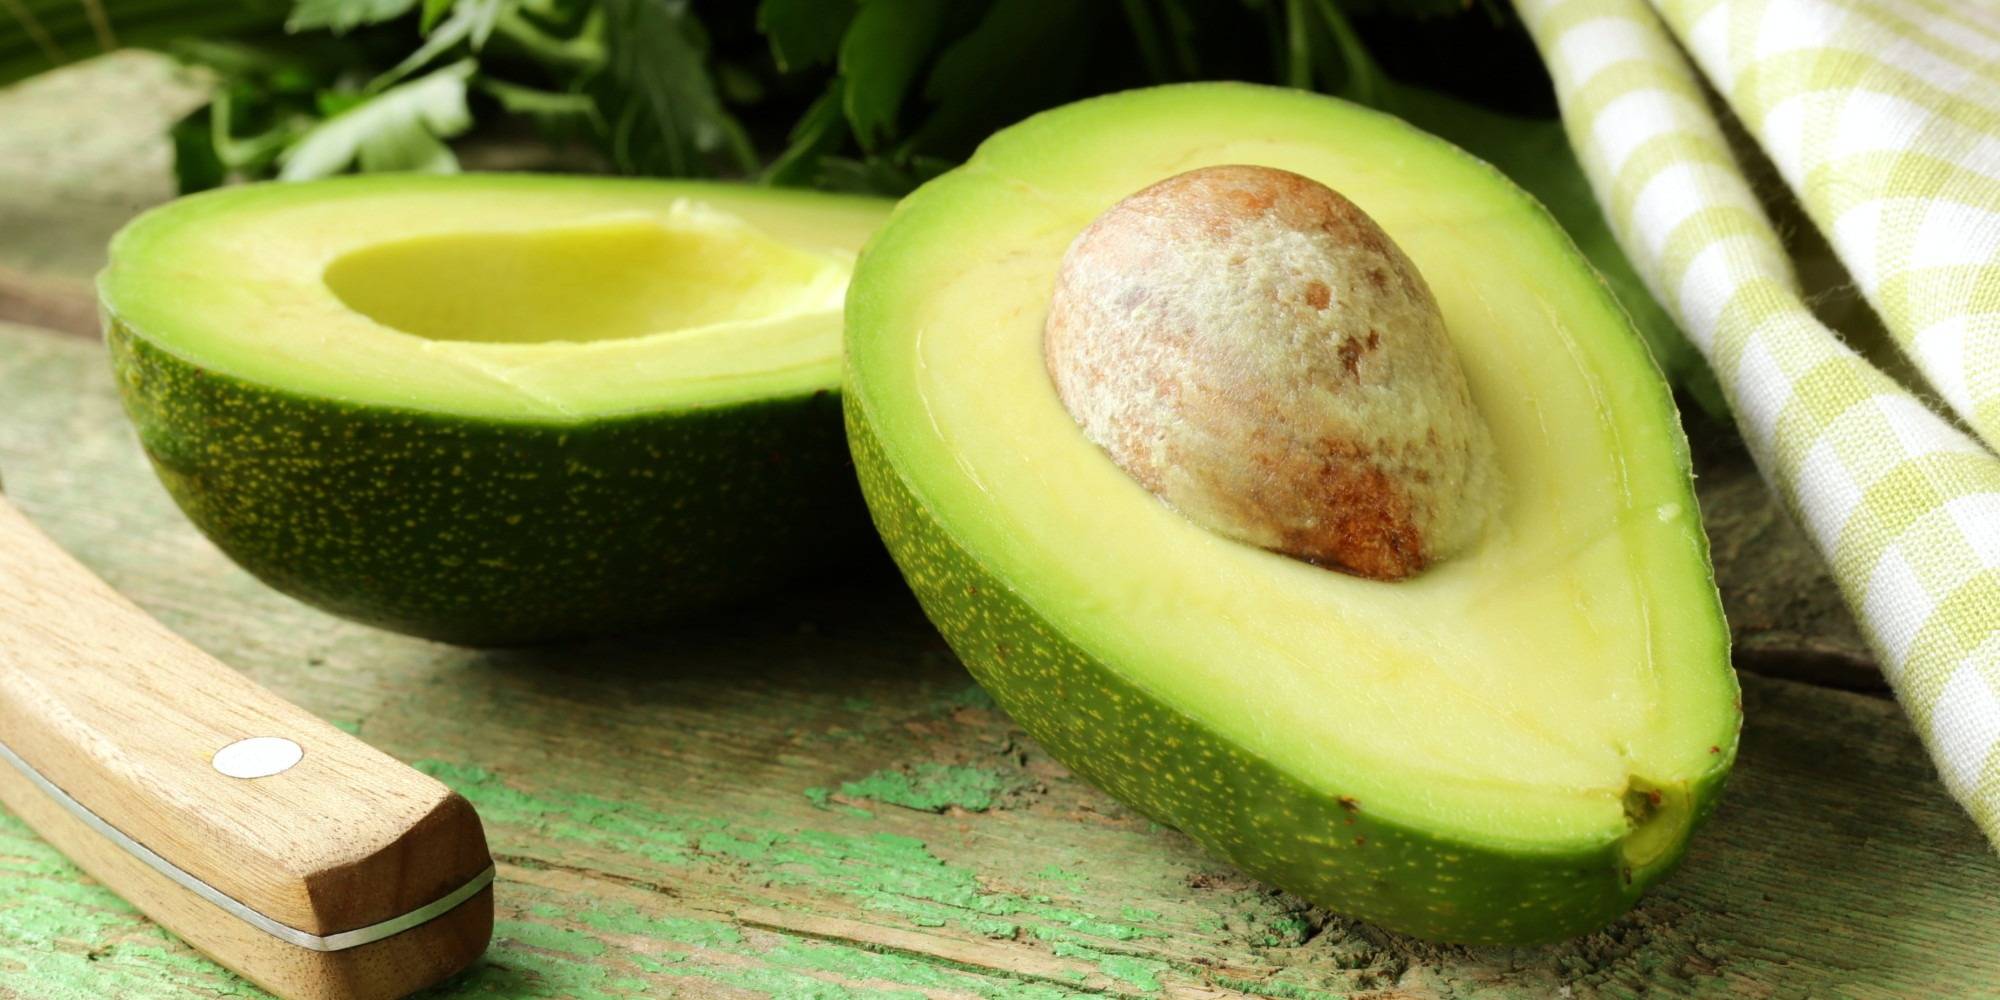
Avocados, often referred to as “nature’s butter,” are celebrated not only for their creamy texture and exquisite taste but also for their health benefits. Rich in heart-healthy fats, vitamins, and minerals, avocados are a nutritional powerhouse that supports cardiovascular health, boosts brain function, and contributes to radiant skin. Moreover, the truest delight can come from an avocado cultivated in confining pots, but still thriving in your own kitchen.

From the rich flavors that adorn your dishes to the convenience and control of container gardening, we’ll explore how planting avocados in pots elevates your experience with this nutritious fruit.

1. Select the right type

The first step is to select a dwarf or semi-dwarf avocado variety that is suitable for container gardening. Some good choices include “Wurtz” (also known as “Little Cado”) and “Holiday.”

2. Know when to plant

Avocado trees can be planted in pots year-round, but spring and early summer are generally the best times to start, as they give the plant a chance to establish its roots before the colder months.

3. Choose A Large Pot

Select a pot that is at least 18 inches (45 cm) in diameter and has good drainage holes. It is advisable to use a well-draining potting mix suitable for container gardening. You can add perlite or coarse sand to improve drainage.

4. Germinate the Seed

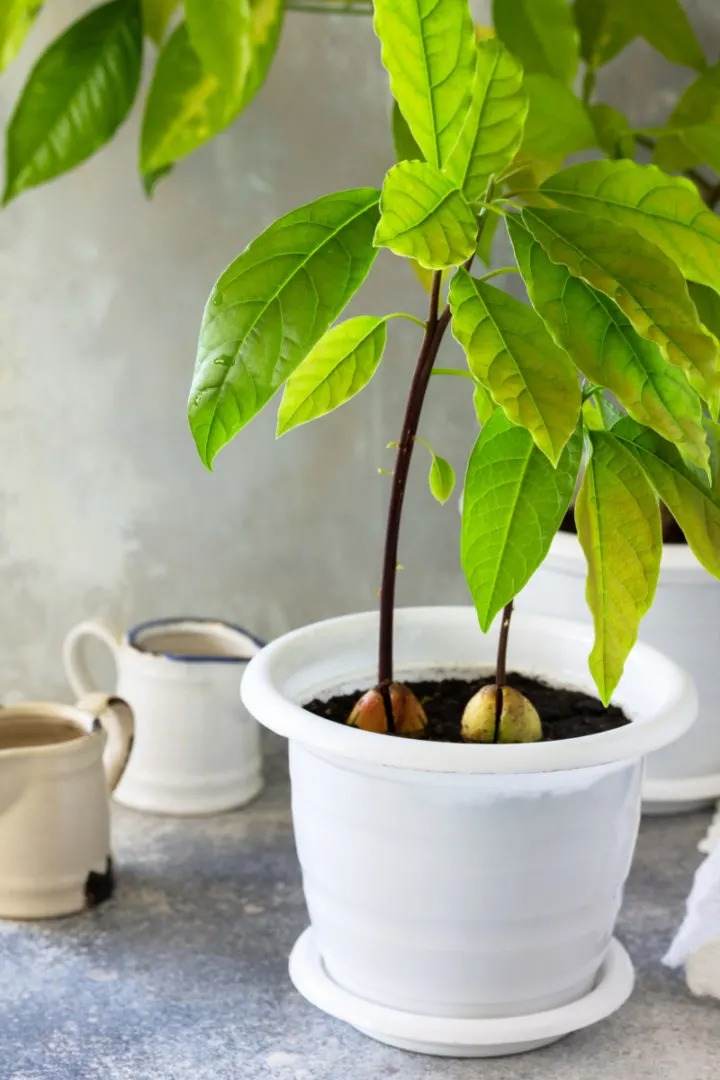
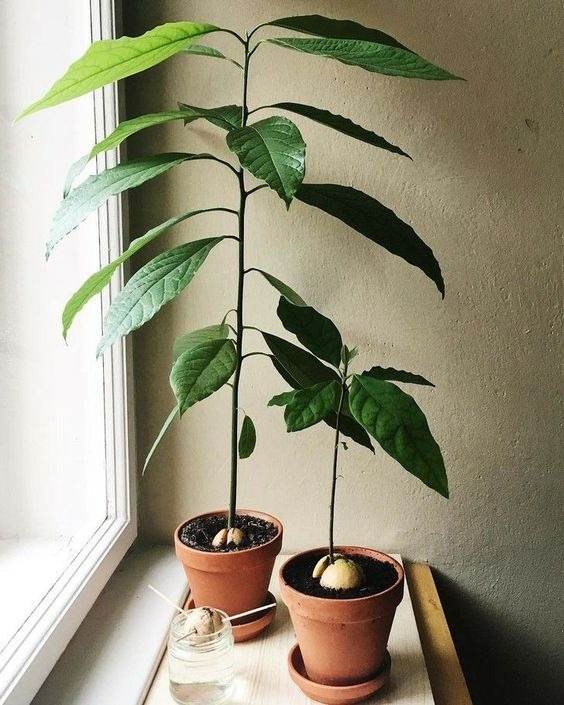
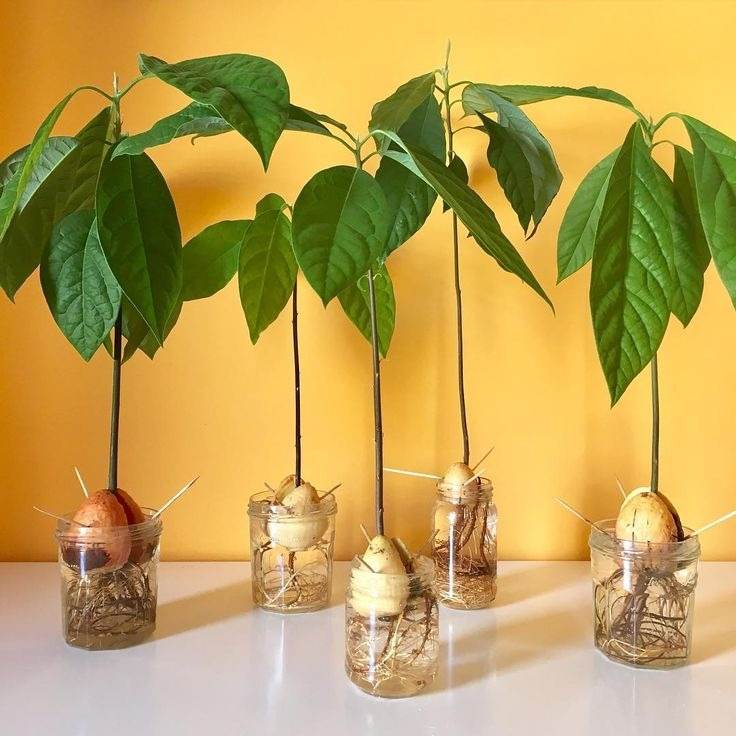
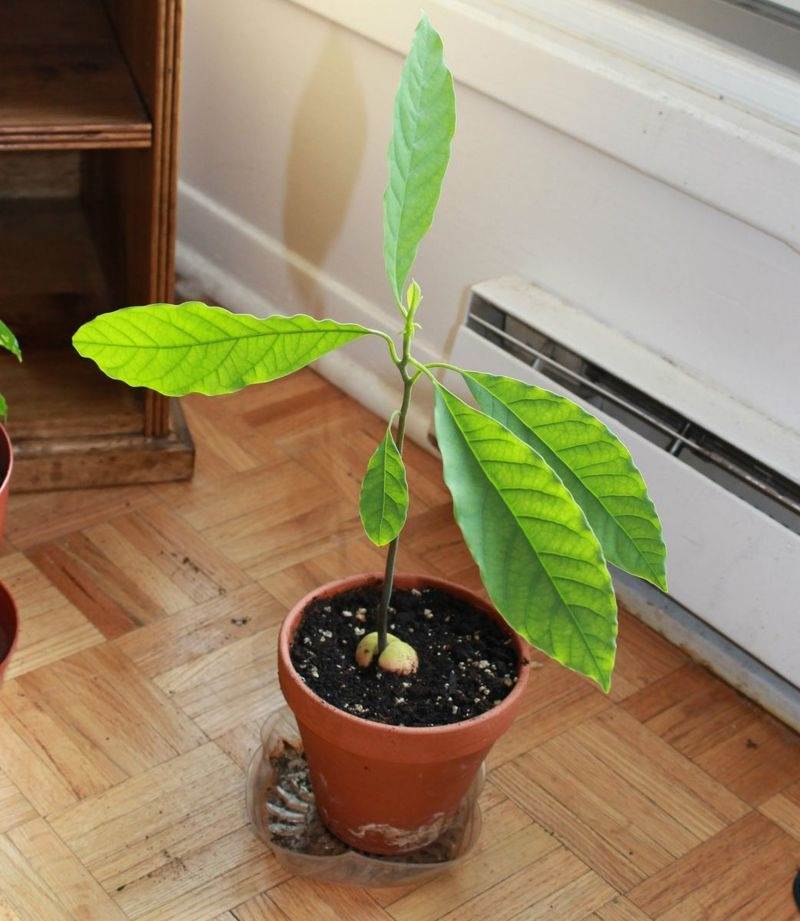
If you want to grow an avocado tree from a seed, clean and plant the seed with the flat end down in a small pot filled with soil. Keep it moist, and it should germinate in a few weeks.

See also  30 Backyard Pond Ideas You’ll Love: From Modern to Rustic

5. Transplanting Young Tree

If you prefer a quicker route to fruit-bearing, purchase a young avocado tree from a nursery. Transplant it into the larger pot, ensuring the root ball is level with the soil surface.

6. Take care of avocado trees

The perfect spot for your pot is a location that receives plenty of sunlight, preferably at least 6-8 hours of direct sunlight per day.

Remember to consistently mist the soil, but don’t drown it in water. Water when the top inch of soil feels dry. Avoid letting the pot sit in standing water.

It’s also essential to prune the avocado tree to encourage a compact shape and promote air circulation. Pinch back the tips of young branches to encourage branching.

Avocado trees are heavy feeders. Therefore, it requires to be fertilized with a balanced liquid fertilizer every 4-6 weeks during the growing season (spring through early fall). You can also use slow-release granular fertilizers.

Some avocado varieties are self-pollinating, but having more than one tree can improve the fruit set. You can hand-pollinate by transferring pollen from one blossom to another.

Be careful with the pests like aphids or mites. If needed, treat with appropriate pesticides or insecticidal soa

7. Prepare to harvest

Avocado trees grown from seed can take several years to bear fruit, and there’s no guarantee that the fruit quality will be the same as the parent plant. Grafted trees purchased from nurseries tend to bear fruit earlier and have more consistent quality.

When it comes to harvesting, avocados are typically picked when they mature but are still firm. The exact timing can vary depending on the variety. Allow harvested avocados to ripen at room temperature, and they should become soft and ready to eat within a few days.

See also  16 Nutrient-Rich Vegetables To Plant Once And Enjoy Forever

Growing avocados in pots requires patience and attention, but the satisfaction of watching your tree thrive and eventually produce delicious fruit is well worth the effort. If you’re a fan of avocado, start your journey today, and share with us your difficulties as well as experiences.

6 Amazing Secrets To Grow Peppers Faster, Bigger, And Better🌱

6 Amazing Secrets To Grow Peppers Faster, Bigger, And Better🌱

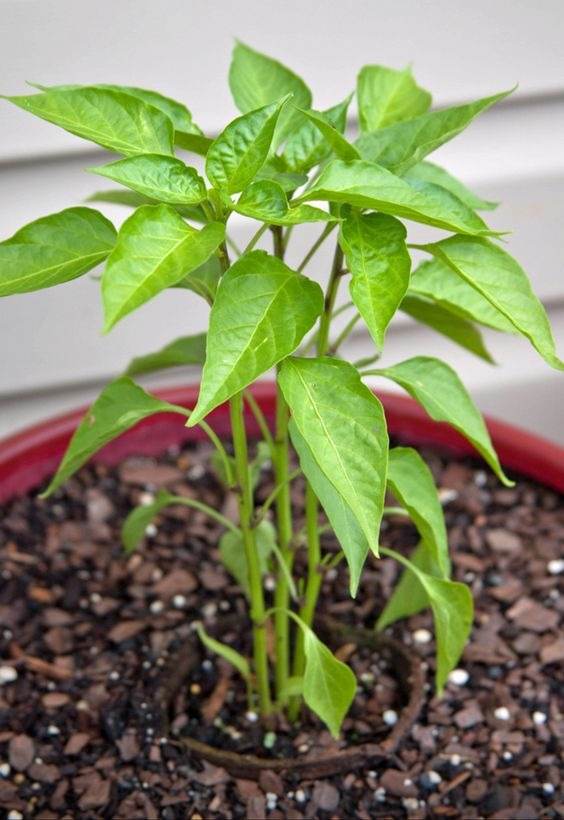
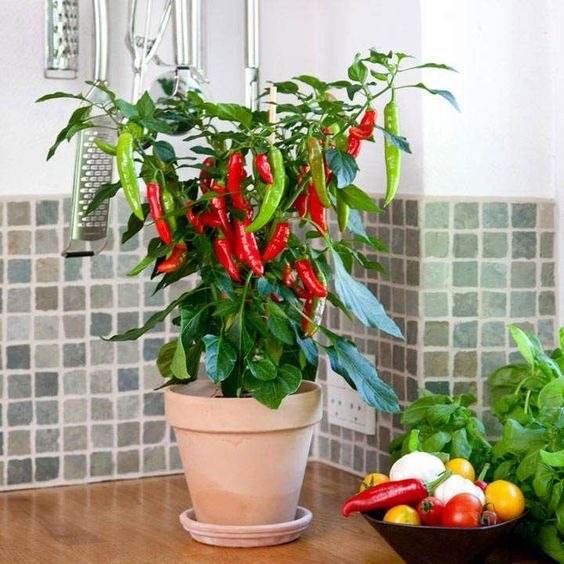
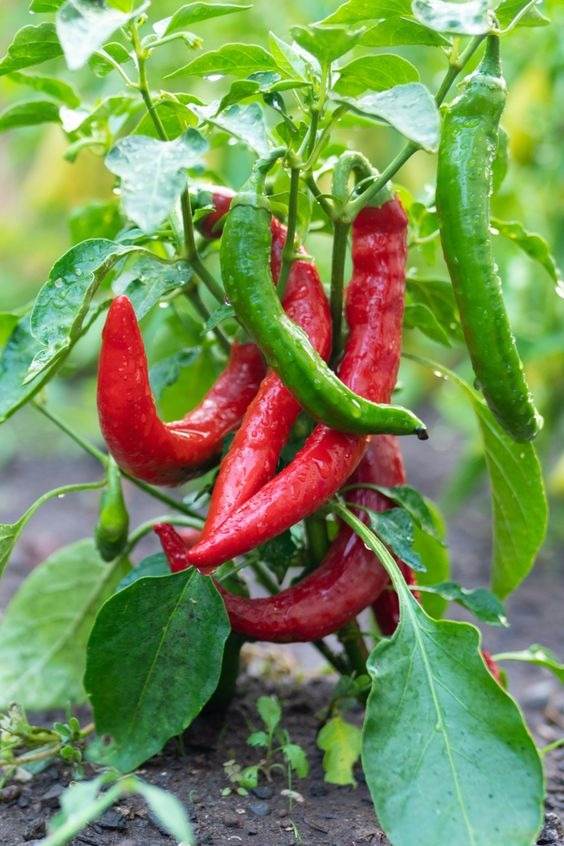
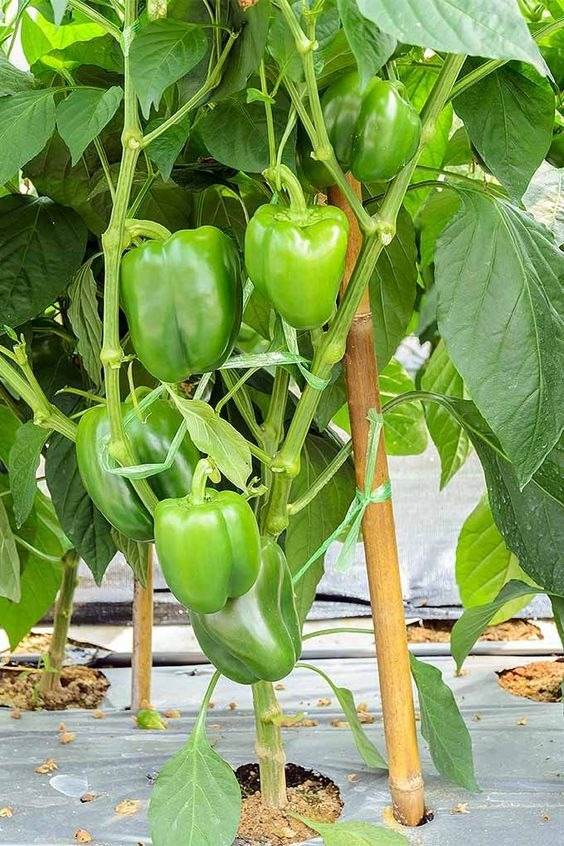
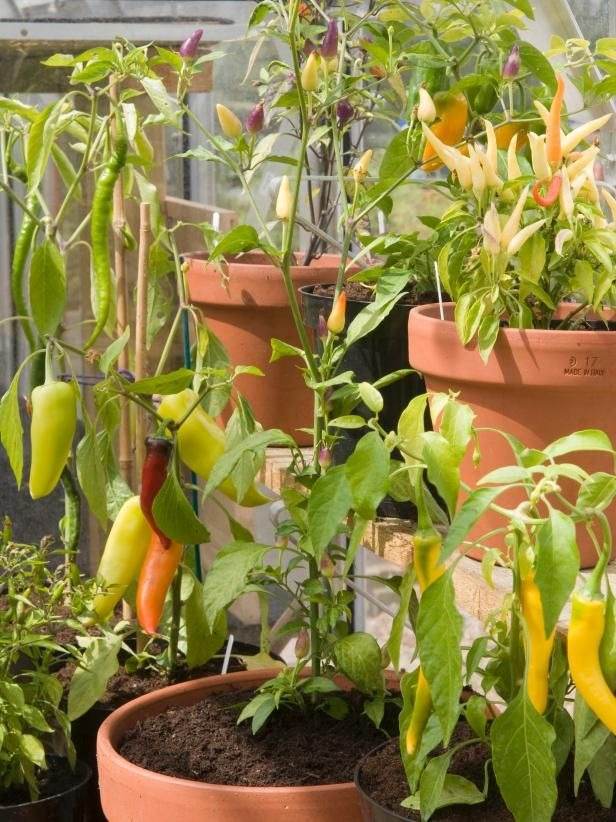
Peppers are delicious and nutritious spices, which can add flavor, color, and texture to your dishes. They come to mind of most gardeners as they are easy to grow in pots, containers, raised beds, or in the ground. The most attractive benefit is that peppers can produce a lot of fruits. Depending on the variety, you can harvest peppers at any stage of maturity. You can enjoy green, red, yellow, orange, or purple peppers throughout the season.

Learning the skill of raising successful pepper plants is worthwhile, regardless of your level of gardening skill. In this article, we’ll provide top secrets and crucial advice to help you cultivate the best pepper plants in your backyard or kitchen.

1. Choose the right variety

There are many types of peppers, from sweet bell peppers to hot chilli peppers. Depending on your taste and climate, you may want to grow different varieties. Some common ones are:

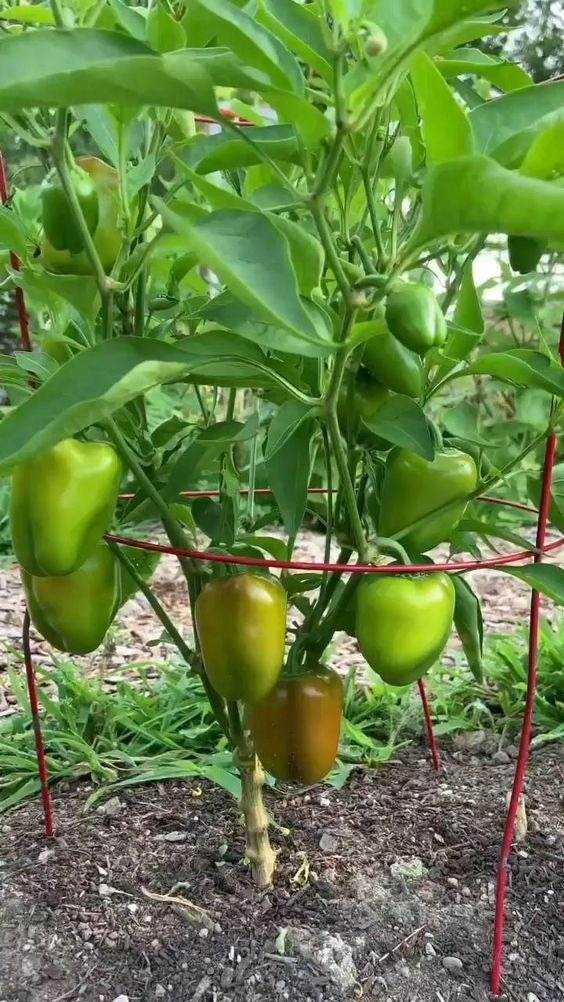
  • Bell peppers: These are large, blocky, and crunchy peppers that come in various colors, such as green, red, yellow, orange, purple, and white. They are mild and sweet and can be eaten raw or cooked. They are also rich in vitamin C and antioxidants. California Wonder, Big Bertha, Purple Beauty, and Chocolate Bell are some best choices.
  • Hot peppers: These are small, thin, and spicy peppers that range from mildly hot to extremely hot. They contain capsaicin, a chemical compound that gives them their heat and has many health benefits. Jalapeno, Cayenne, Habanero, Thai, and Ghost Pepper are among the most popular varieties.
See also  How To Grow Fresh And Crunchy Bean Sprouts In Plastic Bottles

2. Planting

Indoor Seed Starting (Recommended for Cooler Climates)

  • Start pepper seeds indoors 8-10 weeks before the last expected frost.
  • Use a well-draining seed-starting mix and plant seeds 1/4 inch deep.
  • Maintain a temperature of 70-85°F (21-29°C) for optimal germination.
  • Transplant seedlings outdoors after the danger of frost has passed and the soil has warmed.

Direct Sowing (Recommended for Warm Climates)

  • Wait until after the last frost and soil has warmed to at least 65°F (18°C).
  • Plant seeds 1/4 inch deep in well-draining soil.
  • Space plants 18-24 inches apart in rows or beds.

3. Care tips

Peppers thrive in full sun, so ensure they receive at least 6-8 hours of direct sunlight daily. This will encourage strong pepper growth and abundant fruit production.

They prefer well-draining, loamy soil rich in organic matter with a pH level of 6.2-7.0.

When the weather is hot and dry, give your peppers deep, frequent waterings. They require about 1 to 2 inches of water per week. Do not damp the leaves or fruits because this can spread infections.

Mulching can be added to maintain soil moisture, restrain weeds, and regulate soil temperature.

Some pepper varieties may benefit from staking or cage support to prevent branches from breaking under the weight of fruit.

4. Fertilization

Peppers are heavy feeders. That’s why you should apply a balanced fertilizer or compost before planting and side-dress with additional fertilizer during the growing season.

5. Pests and Diseases

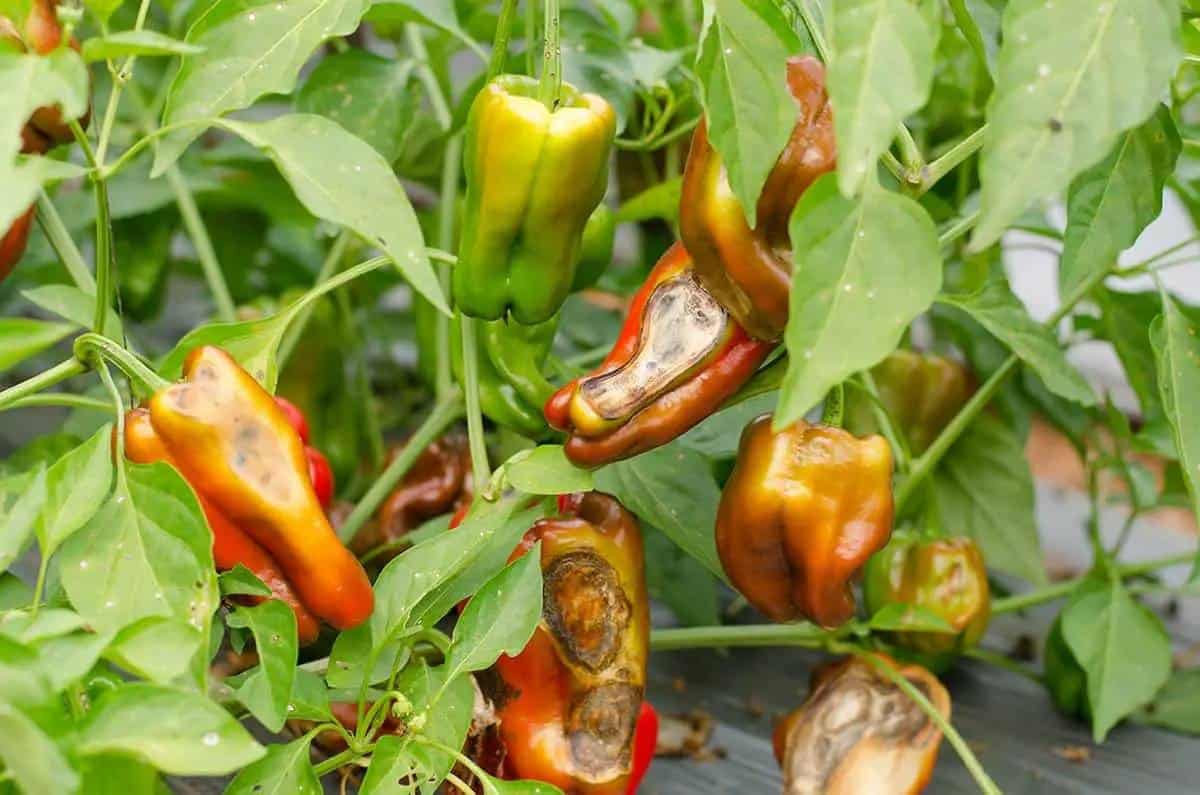
Gardeners should keep an eye out for pests like aphids, caterpillars, and whiteflies. Use natural or chemical remedies as needed. Don’t forget to prevent diseases like fungal infections by providing good air circulation and avoiding overhead watering.

See also  How To Grow Lemon Trees From Leaves With 100% Success

6. Harvesting

Peppers are ready to harvest when they reach their mature size and color. This can vary based on the variety. Green bell peppers can be picked when they are shiny and firm. Red bell peppers can be harvested as they change from green to red, which typically takes approximately two weeks. Hot peppers are ready to pick when they are fully colored (typically red, yellow, or orange).

When harvesting, use pruning shears or scissors to cut peppers from the plant, leaving a short stem attached.

Store harvested peppers in a cool, dry place or in the refrigerator. Some peppers can be frozen, dried, or pickled for longer storage.

With these advice and tips, we hope you’re equipped to grow successful pepper plants in your garden. Remember that pepper plants may take some time to establish, so be patient. With proper care, you’ll be rewarded with a bountiful harvest of delicious and colorful peppers.

Amazing Tips, Growing Big And Beautiful Purple Kohlrabi On The Terrace 🌱

It’s so easy to grow purple kohlrabi at home, the tubers are big and beautiful🌱

I’m glad to hear that you find it easy to grow purple kohlrabi at home and that you’ve had success with large and beautiful tubers! Kohlrabi is indeed a versatile and relatively easy-to-grow vegetable that adds a unique touch to home gardens. The purple varieties, in particular, are known for their vibrant color and delicious, slightly sweet flavor.

For those who might be interested in growing purple kohlrabi at home, here’s a general guide:

Growing Purple Kohlrabi at Home:

Choose a Sunny Location:

Plant purple kohlrabi in a sunny location that receives at least 6-8 hours of sunlight daily.

Prepare the Soil:

Kohlrabi prefers well-draining soil rich in organic matter. Amend the soil with compost if needed.

Planting Seeds:

Directly sow purple kohlrabi seeds in the garden or containers. Plant the seeds about 1/4 to 1/2 inch deep and thin the seedlings as needed once they emerge.

Spacing:

Space the kohlrabi plants according to the variety’s recommendations. Purple kohlrabi plants should have enough room to develop bulbs without crowding.

Watering:

Keep the soil consistently moist. Water deeply when the top inch of soil feels dry.

Mulching:

Apply a layer of mulch around the base of the plants to retain soil moisture, regulate soil temperature, and suppress weeds.

15 Most Typical Eggplants To Grow 🌱

New Method Grow eggplants in plastic chairs, the fruits are big and many🌱

Growing eggplants in repurposed plastic chairs is an innovative and space-efficient gardening idea. Here’s a simple guide on how to use old plastic chairs to grow eggplants with the potential for large and plentiful fruits:

Materials Needed:

Old Plastic Chairs:

Choose chairs with a sturdy base and backrest, ensuring they are no longer needed for seating.

Eggplant Seeds or Seedlings:

Obtain eggplant seeds or young seedlings from a reputable source.

Potting Mix:

Use a well-draining potting mix suitable for container gardening.

Watering Can or Hose:

Ensure a consistent water supply for your eggplant plants.

How To Grow Your Own Pineapples In Water With Just A Pineapple Top🌱

New idea why don’t you use old plastic chairs to grow pineapple

Repurposing old plastic chairs to grow pineapples is a creative and sustainable idea, turning unused items into functional and decorative planters. Here’s a simple guide on how to use old plastic chairs to grow pineapples:

Materials Needed:

Old Plastic Chairs:

Choose chairs with a sturdy base and backrest. Make sure they are no longer needed for seating.

Pineapple Tops (Crowns):

Obtain pineapple tops by removing the crown (leafy top) of a fresh pineapple. Allow the crown to dry for a day before planting.

Potting Mix:

Use well-draining potting mix suitable for container gardening.

Watering Can or Hose:

Ensure a consistent water supply for your pineapple plants.

If you know how to use bananas to propagate roses, you will never throw away bananas again🌱

If you know how to use bananas to propagate roses, you will never throw away bananas again

Yes, using bananas to propagate roses is a popular and effective gardening hack. Bananas are rich in potassium, which is beneficial for plant growth, and they also contain other nutrients that can promote root development. Here’s a simple guide on how to use bananas to propagate roses:

Materials Needed:

Banana Peel:

Choose ripe bananas, and use the banana peels for this propagation method.

Roses to Propagate:

Select healthy rose stems or cuttings that you want to propagate.

Potting Mix:

Use a well-draining potting mix suitable for roses.

Small Pots or Containers:

Choose small pots or containers for planting the rose cuttings.

Watering Can or Spray Bottle:

Ensure a consistent water supply for the propagated roses..